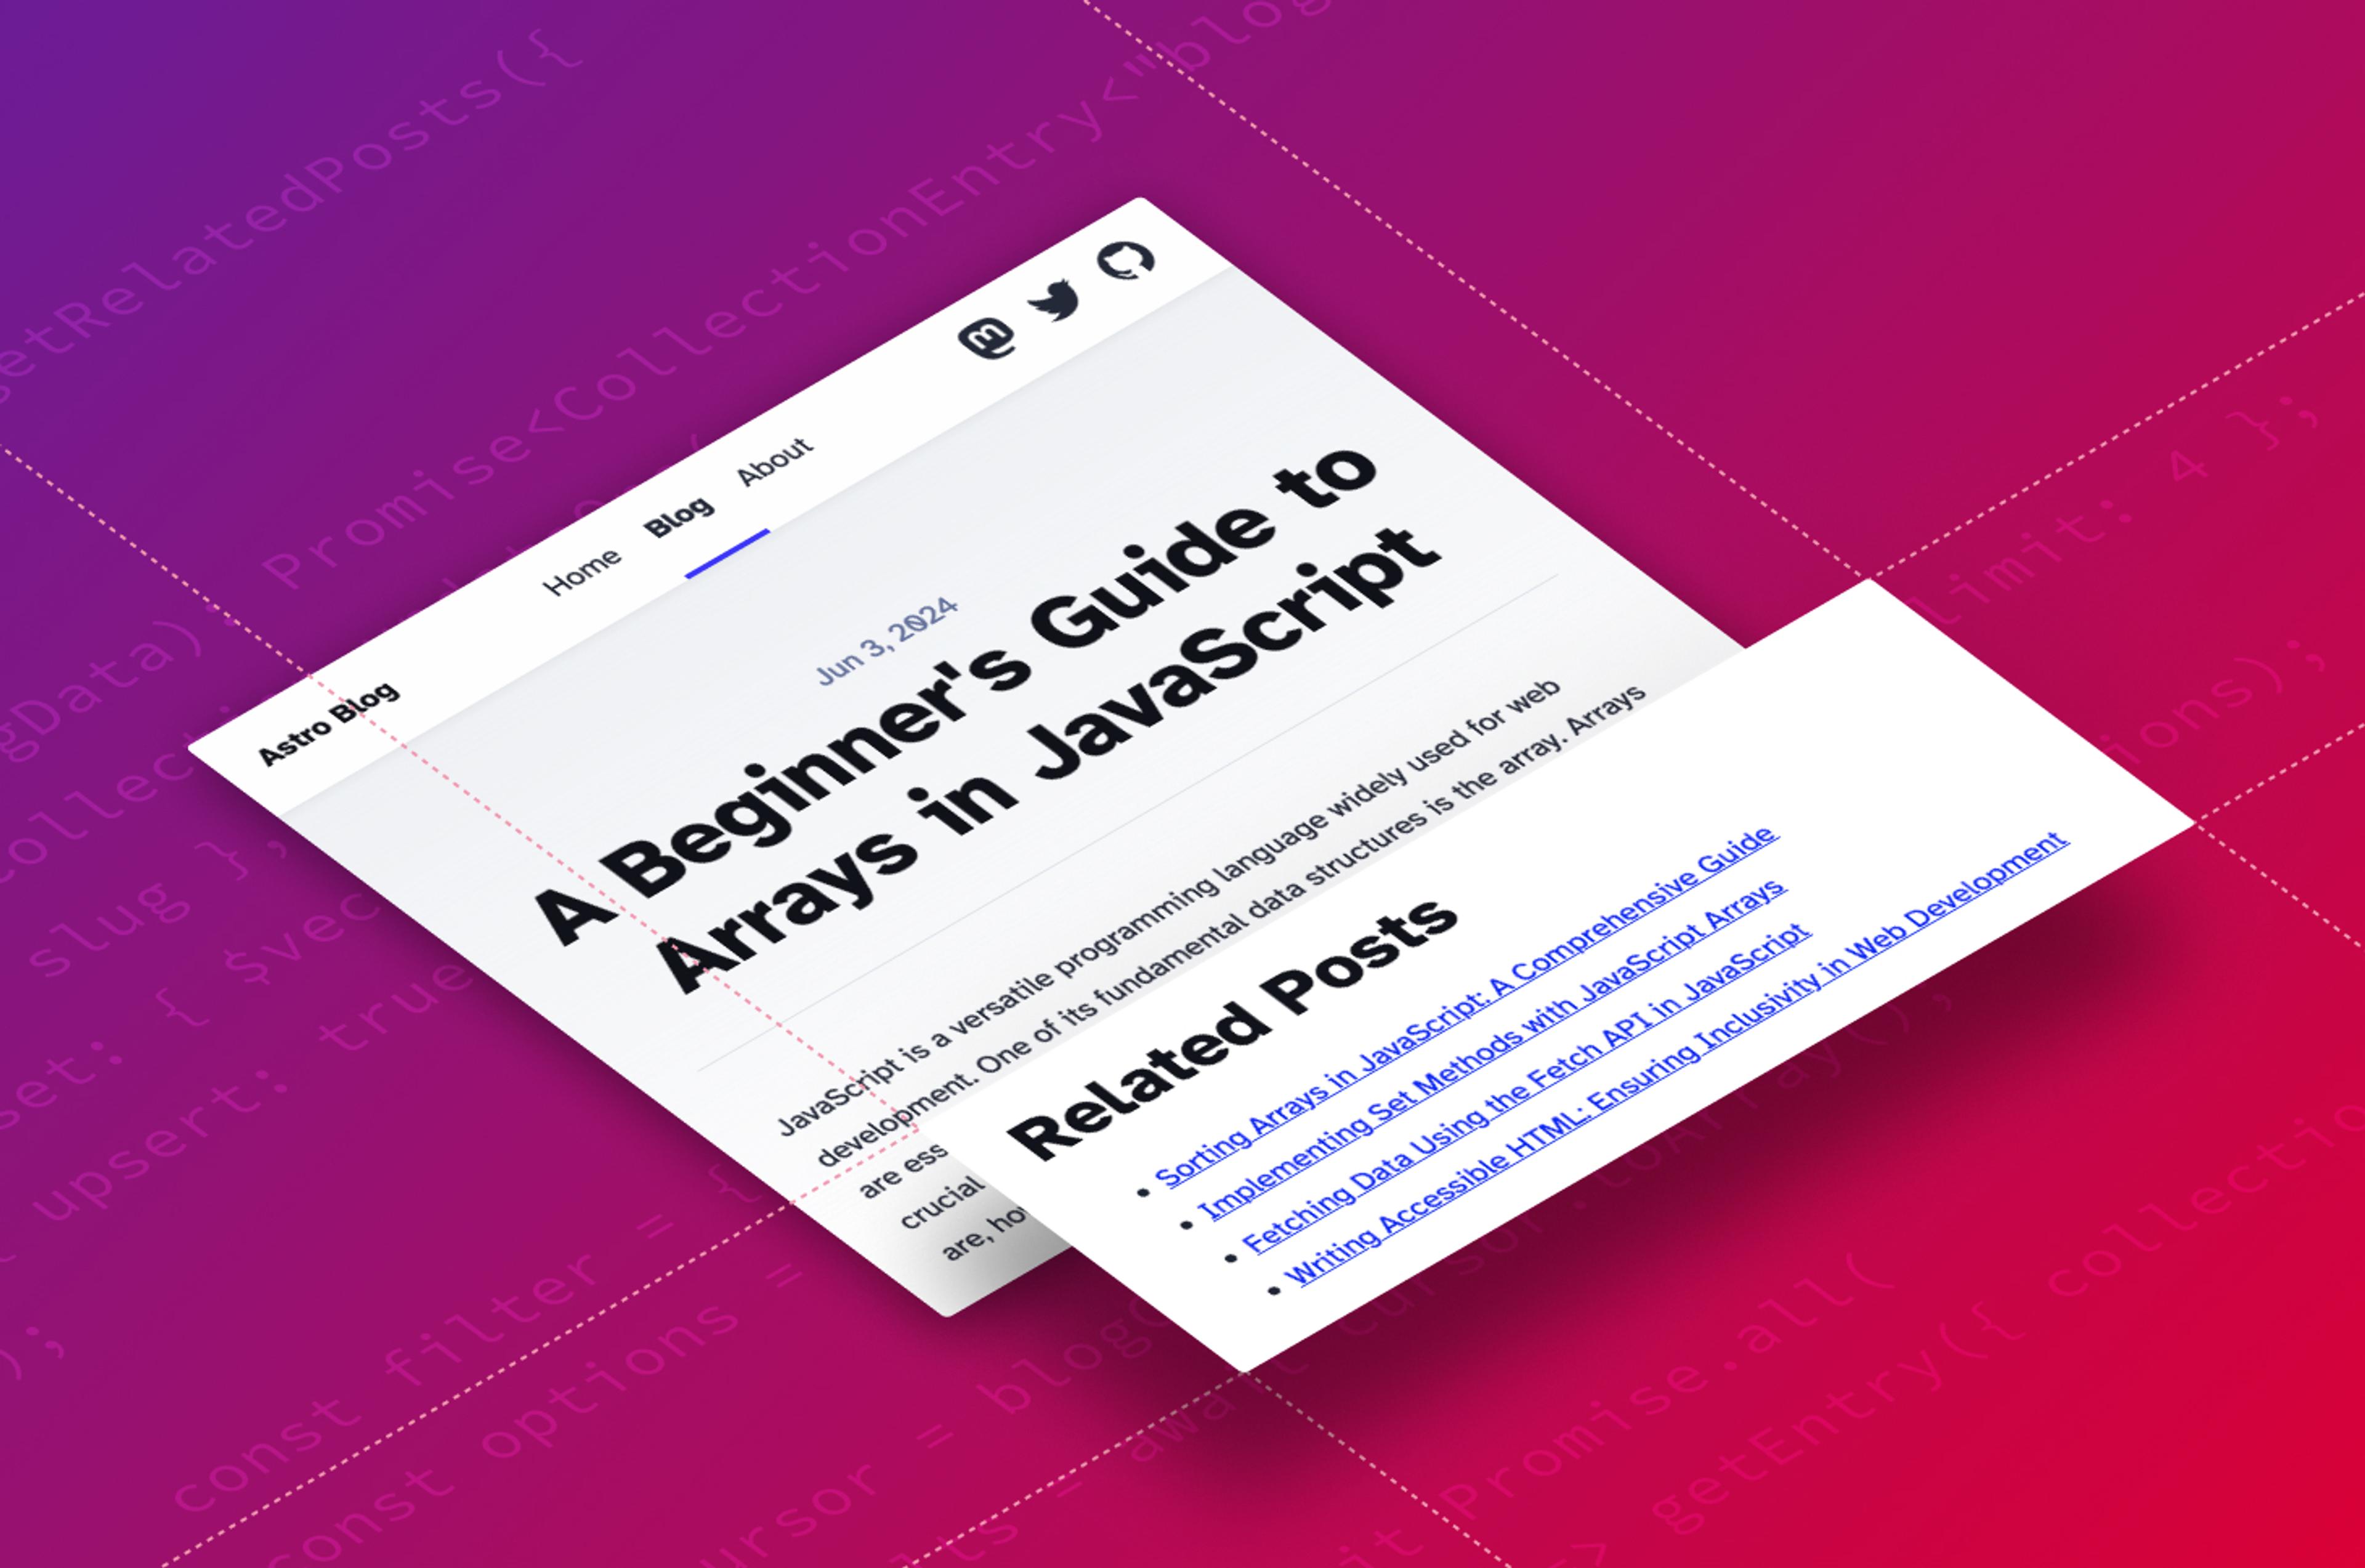
Showing related posts beneath a blog post is a great way to give your visitors more to read and encourage them to hang out on your site longer. Finding related content is an ideal use case for the vector search capabilities of DataStax Astra DB. In this post you’ll learn how to add a related posts feature to a blog built with JavaScript framework Astro using Astra DB and OpenAI vector embeddings.
I actually built this feature into my own blog and I was so pleased with the results I wanted to write it up. Honestly, it was hard not to try to combine Astro and Astra DB.
What's a vector embedding?
A vector embedding is a list of floating-point numbers that represents the meaning of a body of text. The vector itself is a point in a multidimensional space which means you can measure the distance between them. Strings with vectors that are near each other in this space are more related and vectors that are further away are less related. For more detail check out our guide on vector embeddings.
There are many ways to create vectors for text and in this post we'll use OpenAI's text-embedding-3-small model via the new Astra Vectorize feature. We'll take advantage of Astra DB to create and store the vectors and perform a similarity search to return the closest vectors for each post.
What you’ll need
For this application we’ll build an Astro-powered blog and generate and store vector embeddings for the blog posts using Astra DB so we can perform a similarity search for each blog post. For this, you’ll need:
-
An OpenAI account with some credit
-
Node.js (version v18.17.1 or higher)
We're going to work with an Astro blog. For the purposes of this post we'll generate a new one with the Astro CLI.
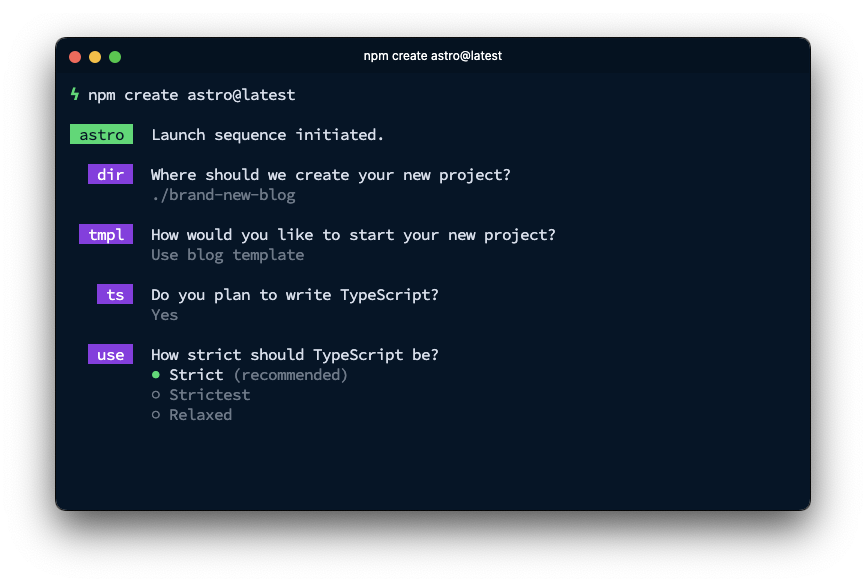
Open your terminal and generate a new Astro blog with the command:
npm create astro@latestThe CLI will ask a bunch of questions to help you set up the project; the most important thing is to choose the blog template. You can choose to use JavaScript or TypeScript, I will cover TypeScript in this tutorial. I would recommend installing the dependencies at this point, too.
Open the project in your favourite text editor. Inside the src/content/blog directory you’ll find that the Astro blog template comes with five example blog posts. Sadly, four of them are lorem ipsum text, which won't help demonstrate our related posts feature. In order to see that in action, we will need some content. If you don't have your own blog content to work with, this is an ideal opportunity to use AI to generate some for you.
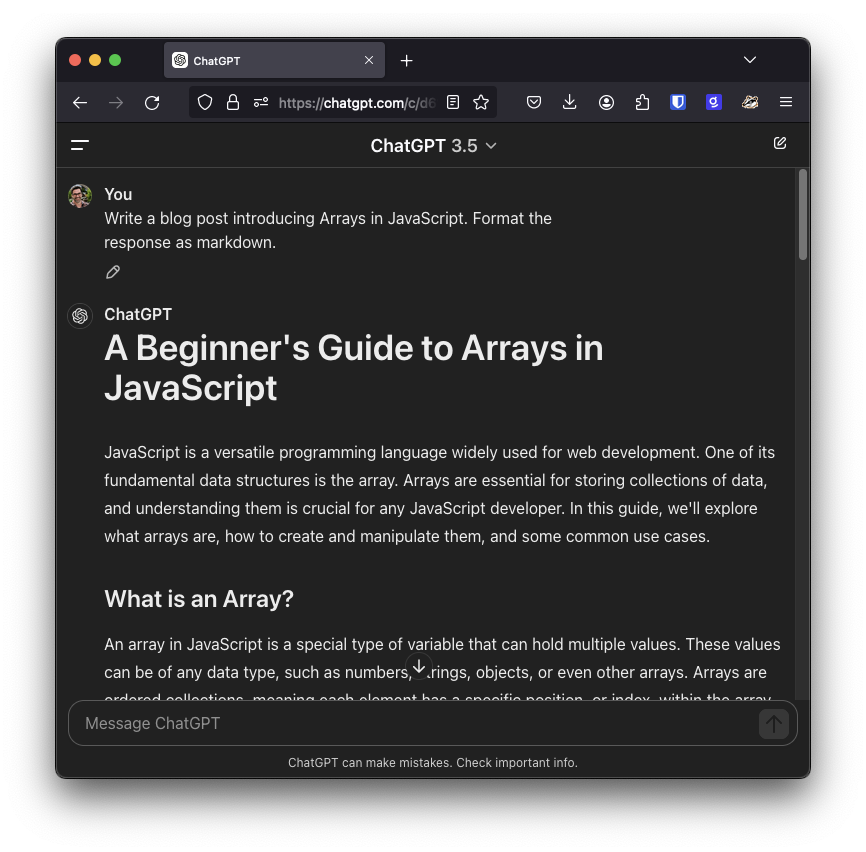
To get markdown content from ChatGPT, you can use the copy button underneath the response.
Once you have some content, run the project with
npm run dev
You can check out your new blog at http://localhost:4321.
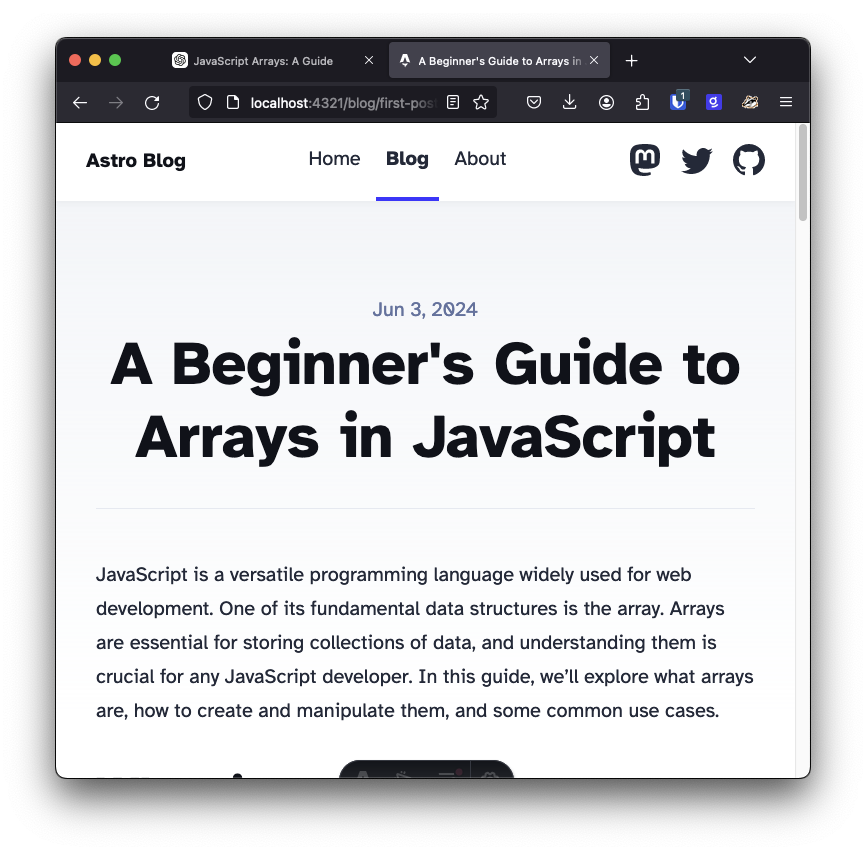
Now we have the blog up and running with some content, let's write our related posts feature.
Prepare the database
Start by logging into your Astra DB account and creating a database. Choose a Severless (vector) database, name it "astro_blog", and choose any of the available providers and regions. It takes a little while to provision the database, so while it is initialising, set up the OpenAI integration.
We're going to use Astra Vectorize to handle turning blog post content into vector embeddings, so we'll need to enable an integration. In the Astra DB dashboard, go to Settings then click on the Integrations tab. Choose the OpenAI embedding provider, then click the Add integration button.
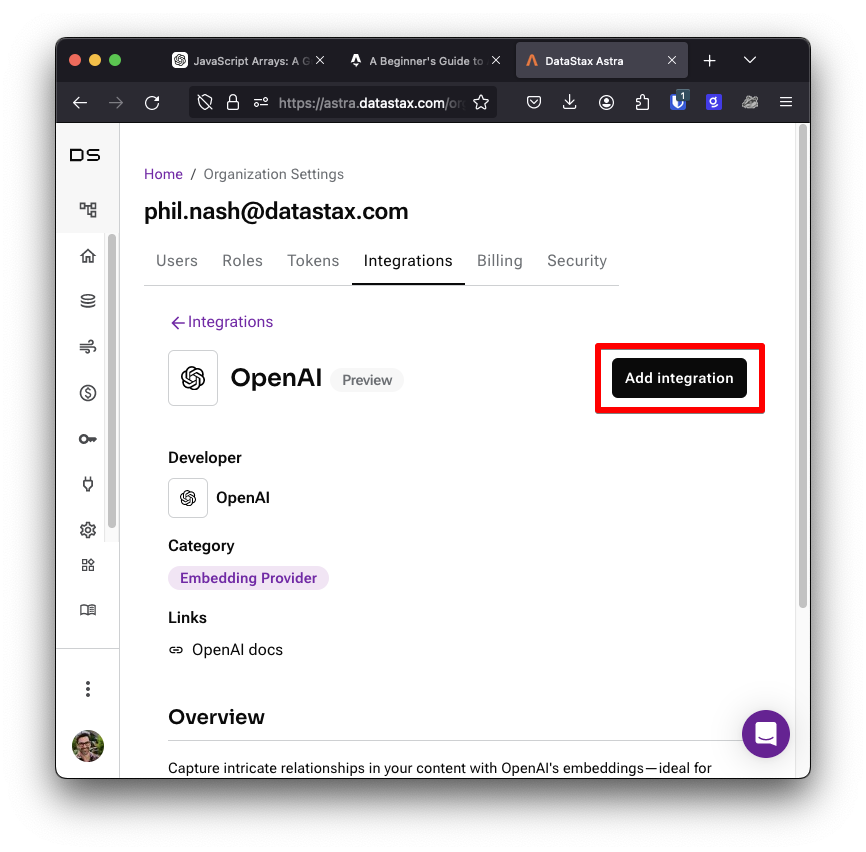
You will be presented with a form. Enter a name for your OpenAI key. In the OpenAI dashboard, create an API key, copy it, and paste it into the form. From the drop down, select the "astro_blog" database you just created. Submit the form by clicking Add integration and now you have an OpenAI integration that your database can use to create vector embeddings for your content.
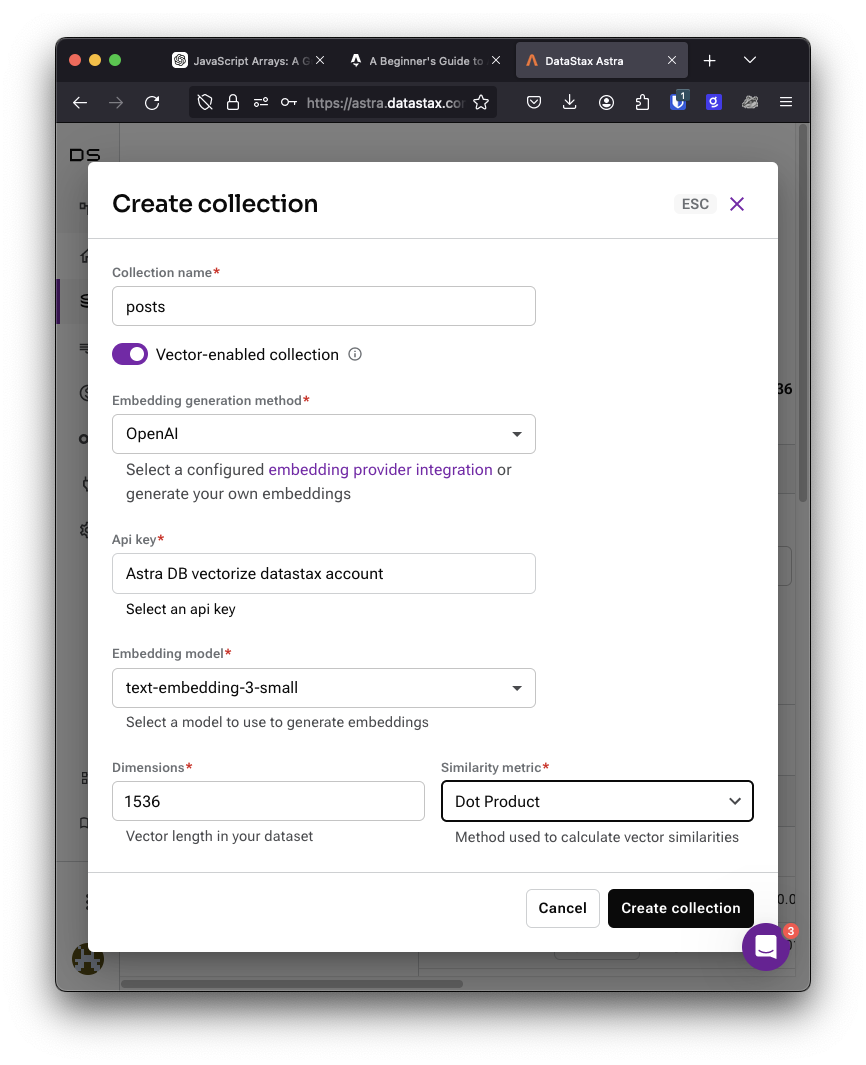
Return to the database you created, click into the Data Explorer tab and create a collection. Call the collection "posts" and ensure that vectors are enabled. From the dropdown under "Embedding generation method" pick the OpenAI integration we just configured and choose the text-embedding-3-small embedding model. This model can create vector embeddings with up to 1,536 dimensions. We also need to choose a similarity metric. OpenAI recommends cosine similarity, but their vectors are normalised (the values lie between -1 and 1) so we can use the dot product for a faster calculation and the same result. Choose a dimension size of 1,536 and Dot Product for the similarity metric.
Prepare the blog
We'll need to install a new dependency to make it easy to work with Astra DB. Return to your terminal and run:
npm install @datastax/astra-db-ts
We'll also need to bring some API credentials into the app. It's best not to store these in your source code to avoid leaking them, so we'll use Astro's built in dotenv support. Create a file in the root of the project, call it .env and open it in your editor.
In the Astra DB dashboard, generate an app token for your database and save it in .env as ASTRADB_APP_TOKEN. Also, grab your Astra DB endpoint URL and save it as ASTRADB_ENDPOINT.
Storing embeddings and retrieving related posts in Astra DB
Now we're going to write a function that’s going to return related posts given the slug and content of a blog post. It will use Astra Vectorize to both store a vector embedding of a blog post's content and then perform a similarity search to find the four most similar blog posts.
Create a file in the src directory called vector_related_posts.ts and open it. Start by importing the DataAPIClient class from the Astra DB helper library as well as the getEntry function and CollectionEntry type from Astro's content module.
import { DataAPIClient } from "@datastax/astra-db-ts";
import { getEntry, type CollectionEntry } from "astro:content";
The CollectionEntry type refers to the collections defined in src/content/config.ts. In our example blog, there is only one content type, called "blog."
We need some constants, the config from our env file, and the name of the collection we created in Astra DB.
const { ASTRADB_APP_TOKEN, ASTRADB_ENDPOINT } = import.meta.env;

const COLLECTION_NAME = "posts";
Note: You might be used to getting environment variables from process.env, but that is native to Node.js. Astro applications can be deployed to many different JavaScript runtime environments, including Node.js, Deno Deploy, and Cloudflare Workers. import.meta exposes metadata to JavaScript modules and is a more appropriate cross platform place to access this data. Astro is built upon Vite which places environment variables in import.meta.env.
We'll also need some types.
The BlogEmbeddingDoc will be the type of the document we'll store in Astra DB. This will include an _id, which is a string, and $vectorize, which is the string content we want to turn into vector embeddings.
We'll also define a BlogEmbeddingData type, which is the data we need to create vector embeddings of the content of a blog post and store them in Astra DB. This will include the slug and the body of the post, both strings.
type BlogEmbeddingDoc = {
  _id: string;
  $vectorize: string;
};
type BlogEmbeddingData = {
  slug: string;
  body: string;
};
Next we'll initialise the database and get the collection.
const astraDb = new DataAPIClient(ASTRADB_APP_TOKEN).db(ASTRADB_ENDPOINT);
const blogCollection = astraDb.collection<BlogEmbeddingDoc>(COLLECTION_NAME);
Now create the function that will take the blog content and return related posts.
export async function getRelatedPosts({
  slug,
  body,
}: BlogEmbeddingData): Promise<CollectionEntry<"blog">[]> {
  // store the post and then get the related posts
}
The first thing we need to do is either create a document in Astra DB, or update one if it exists with the latest content. We can do that using the updateOne method with the upsert option which will create a new document if one is not found.
Use the slug of the post as the ID as it is unique amongst blog posts and allows us to look it up easily. To turn the content of the blog post into vector embeddings, assign the content to the $vectorize field.
export async function getRelatedPosts({
  slug,
  body,
}: BlogEmbeddingData): Promise<CollectionEntry<"blog">[]> {
  await blogCollection.updateOne(
    { _id: slug },
    { $set: { $vectorize: body } },
    { upsert: true }
  );

  // more to come
}
Using $vectorize transparently calls our OpenAI embedding provider as part of the database call. The vector embeddings are then stored alongside the content.
Note: There’s a limit on the number of tokens in a piece of text that you can embed (tokens are like words or word parts, better explained by OpenAI here) but when I ran this against my blog, none of my posts were long enough to bother the limit. If you want to implement this on your blog you might have to consider the length of your posts and whether you might need to split up or summarise the text first.
Now we need to return the related posts. We'll use Astra DB's filtering to exclude the post we're currently dealing with and add a limit to return the number of posts we want. You can see all the ways you can filter data in Astra DB with the operators listed here.
We can take advantage of Astra Vectorize at this stage too; by using the $vectorize field in the sort options the content will again be turned into vector embeddings and used to sort the database.
export async function getRelatedPosts({
  slug,
  body,
}: BlogEmbeddingData): Promise<CollectionEntry<"blog">[]> {
  await blogCollection.updateOne(
    { _id: slug },
    { $set: { $vectorize: body } },
    { upsert: true }
  );

  const filter = { _id: { $ne: slug } };
  const options = { sort: { $vectorize: body }, limit: 4 };

  const cursor = blogCollection.find(filter, options);
  const results = await cursor.toArray();

  // return the posts
}
From the database, we get back a list of documents with an _id, which is the slug we stored earlier. We'll use Astro's content collections to look up the real post by the slug and return a list of blog posts.
export async function getRelatedPosts({
  slug,
  body,
}: BlogEmbeddingData): Promise<CollectionEntry<"blog">[]> {
  await blogCollection.updateOne(
    { _id: slug },
    { $set: { $vectorize: body } },
    { upsert: true }
  );

  const filter = { _id: { $ne: slug } };
  const options = { sort: { $vectorize: body }, limit: 4 };

  const cursor = blogCollection.find(filter, options);
  const results = await cursor.toArray();

  const posts = await Promise.all(
results.map((result) => getEntry({ collection: "blog", slug: result._id }))
  );

  return posts;
}
TypeScript will actually complain about this function because the return type of getEntry is CollectionEntry<"blog"> | undefined. We need to filter out any potential undefined results (even though we're pretty sure they'll all be there).
To do that, we need a TypeScript guard function to filter out anything that isn't in the array and ensure that the result is the type we expect.
function isPost(
  post: CollectionEntry<"blog"> | undefined
): post is CollectionEntry<"blog"> {
  return typeof post !== "undefined";
}
We can then use this isPost function to filter the returned posts and ensure we are only returning real post objects. Change the last line of the function to:
return posts.filter(isPost);Displaying related posts
Finally, we need to display the related posts at the bottom of a post page. We'll need to pass the data down to the BlogPost page when we load the blog post content. That is done in this dynamic route page: src/pages/blog/[...slug].astro.
Pass the slug and body to the BlogPost component.
<BlogPost {...post.data} slug={post.slug} body={post.body}>Now open src/layouts/BlogPost.astro and extend the Props type so that it includes the slug and body. Then destructure those values from Astro.props.
type Props = CollectionEntry<"blog">["data"] & { slug: string; body: string };
const { title, description, pubDate, updatedDate, heroImage, slug, body } = Astro.props;
Import the getRelatedPosts function and call it with the slug and body.
import { getRelatedPosts } from "../vector_related_posts.ts";
const relatedPosts = await getRelatedPosts({ slug, body });
At the bottom of the page add the following HTML to render the related posts underneath the blog post content.
 <slot />
    <div class="related">
      <hr>
      <h2>Related Posts</h2>
      <ul>
        {
          relatedPosts.map((post) => (
            <li>
              <a href={`/blog/${post.slug}`}>{post.data.title}</a>
            </li>
          ))
        }
      </ul>
    </div>
  </div>
</article>
In this blog template, the about page uses the blog layout too. This is a bit of a pain as we don't really want the about page turning up in the related posts section. There are many ways around this, but the easiest at this point is to delete src/pages/about.astro.
Related posts in action
To get all the blog posts into the database, build the site with npm run build. This will render each blog post and as it does it will store the vector embeddings in Astra DB. Open the data explorer in the Astra DB dashboard. You will see all the vectors as well as the contents of the blog posts.
Start the Astro blog with npm run dev. Navigate to the different blog posts and check out the related posts at the bottom of the page.
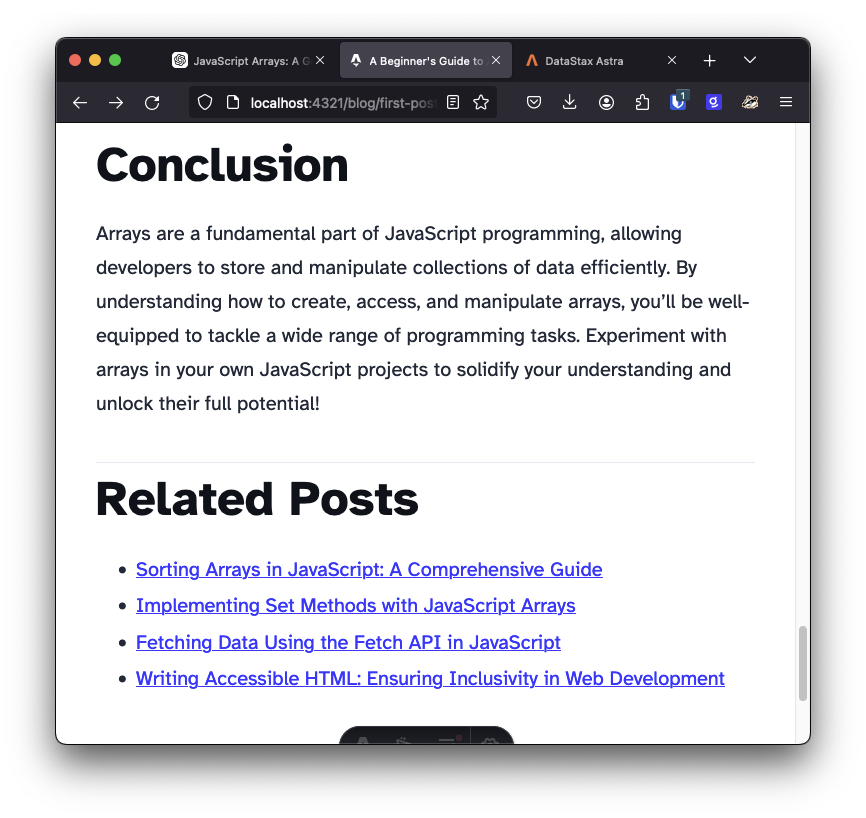
You can see this in action on my personal blog, where blog posts about JavaScript arrays are related to other blog posts about arrays. You can see the implementation of the related posts search and where they are rendered.
Astro and Astra DB working together
In this post you saw how to build a blog with Astro and add related posts using Astra DB. It's fairly straightforward to store the information in the database and Astra Vectorize even handles generating vector embeddings for you. Astro powered blogs are deployed as statically generated sites by default, so your site will only need to call the database when you are writing a new post or on deployment.
If you have any questions about this or want to let me know what you're building with Astra DB let me know on Twitter at @philnash.

