It's Saturday night and you’re looking for the perfect movie on Netflix. You search for “romantic comedies in Europe” and you get no results. We built Movies++ to create a superior movie search experience and to showcase how GenAI can help build better products that serve users with natural language; we demoed it at our RAG++ GenAI Hack Night.
We used a combination of DataStax technologies (Astra DB, Langflow) together with OpenAI and TMDB to build it. In this post, we'll dive into the making of Movies++, and explore how these technologies harmonize to revolutionize your movie search experience.
Part 1: Loading the data
To perform semantic search on a database of movies, we need movies and we need a database. To get started with the database, let’s create one with Astra DB. To do this, we’ll navigate to https://astra.datastax.com and sign in with Google, GitHub, or any provider we choose. From there, we can create a database by following the documentation. Once we have a database, let’s create a collection called movies with the following parameters.
- Name: movies
- Vector enabled collection is ON
- Embedding generation method is OpenAI. You’ll need to add the integration if you haven’t already.
- Embedding model is text-embedding-3-large
- All other default values can remain
Overall, your new collection should look like this:

Once everything is in place, go ahead and create it.
Now to load some movies, we can do so by cloning the repo. Once we do that, we can run the ingestion script by:
- Renaming .env.example to .env and filling in the appropriate values for TMDB, OpenAI, and DataStax. Let’s walk through these in some detail:
OPENAI_API_KEYis your OpenAI API keyASTRA_DB_API_ENDPOINTis your API endpoint to your Astra databaseASTRA_DB_APPLICATION_TOKENis functionally your Astra DB API Key. You can get one from the Astra portal by clicking the Generate Token button below:
TMDB_API_KEYis your TMDB API keyLANGFLOW_URLis your Langflow API URL (we’ll discuss this later, you can leave it blank for now)
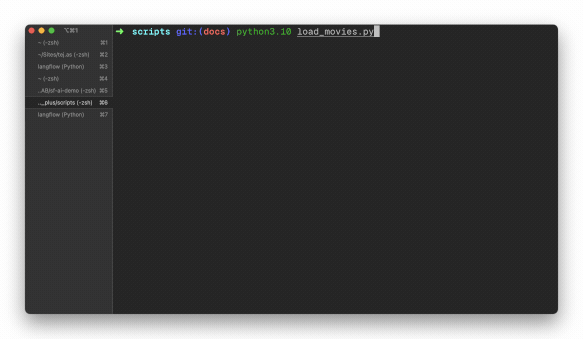
- Navigating to the scripts directory
- Installing requirements with pip install -r requirements.txt
- Running load_movies.py with python load_movies.py
If everything went well here, movies will start to be loaded into your database.
This will continue to run and ingest all movies. It can take some time, so let it do its thing and we’ll come back when it’s finished. Once it’s done, we can proceed to the next step: querying the data.
Part 2: Searching the data
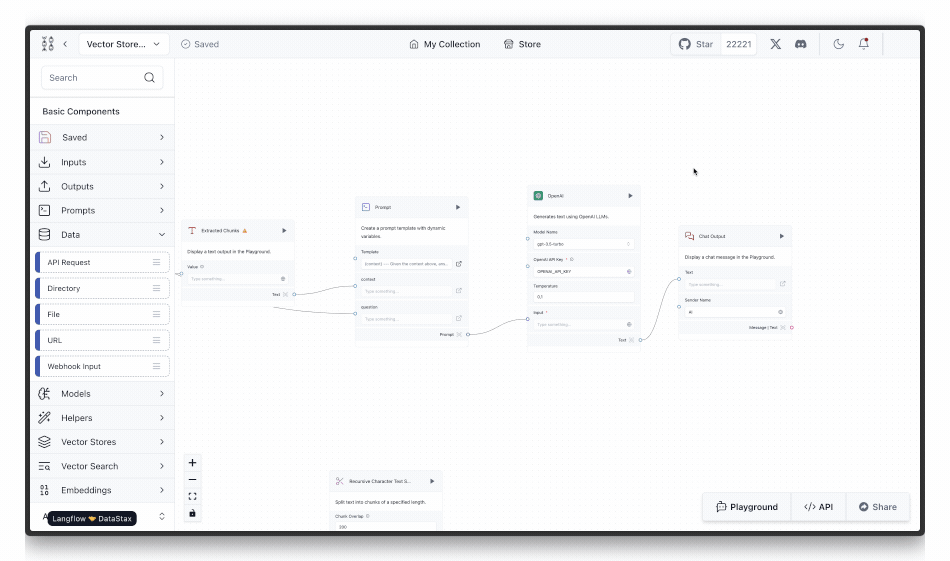
Now that we’ve got data into our collection, we can use Langflow to query it and build a RAG pipeline around it. To get started, we’ll run Langflow locally by referencing the documentation. Once it’s up and running, we’ll go ahead and create a new Vector Store RAG project by clicking “New Project” and choosing Vector Store RAG.
 When we navigate to the project, we’ll see a RAG pipeline. Let’s walk through this RAG pipeline left to right, top to bottom.
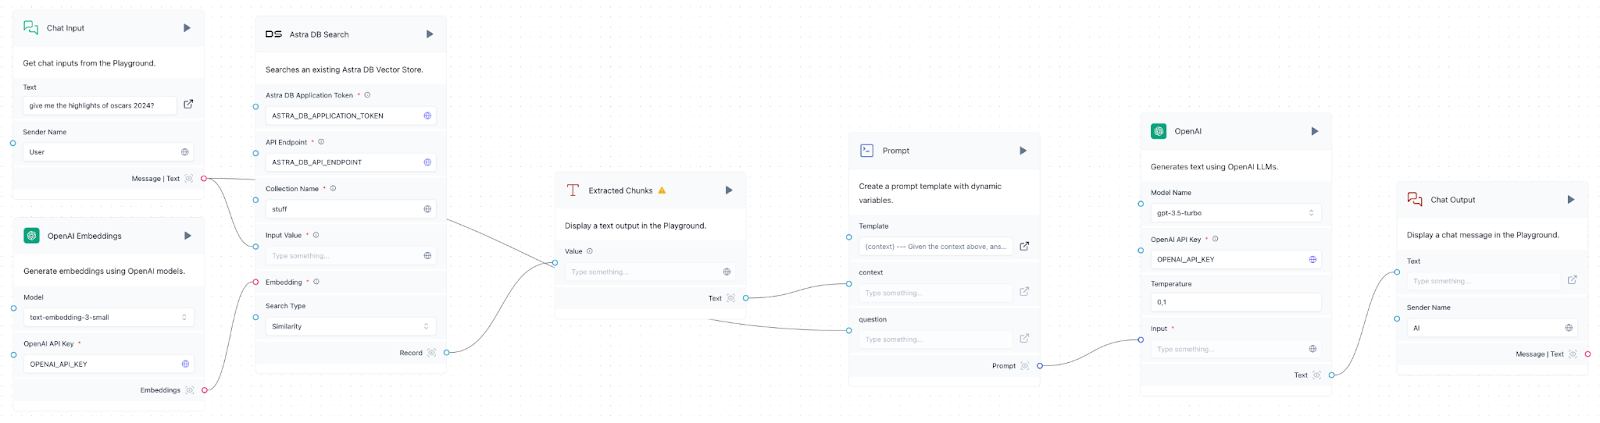
- Chat input: This is effectively a user input that would be the basis of our movie search.
- Embeddings model: This must be the same embeddings model from OpenAI we used when we created our collection above, text-embedding-3-large.
- Astra DB search: This represents our collection in Astra DB that we’re searching. We’ll want to make sure the API tokens and collection names match the ones used in our .env file.
- Extracted chunks: This component turns the results from the search into text that we pass as context to the large language model via the prompt.
- Prompt: Using the chunked context from the vector search engine and the Chat Input, we can now engineer a prompt. We can stick with the basic prompt here: Given the context {context}, answer the question {question} and improve it as needed.
- Large language model (LLM): This represents an API that interfaces with an LLM. In this case, we’re using OpenAI’s GPT 3.5-turbo as it’s fast, light, and affordable. It also performs quite well with RAG. Ensure you enter your OpenAI API key in the relevant field.
- Chat output: From here, we finally serve the output to the user.
The above seven components represent a read RAG pipeline in Langflow. Let’s test it out by clicking the Playground button and sending a few prompts like “movies with a strong female lead,” “movies with Superheroes,” and “romantic comedies in Europe.” By doing so, we can see that our data is in fact working when GPT 3.5-turbo suggests movies from our dataset that we ingested.
Fantastic! Now that we have a working RAG pipeline, we can expose it over a web API and consume it in an application. To do so, we can click the API button to see the API call that will run this flow.
The URL from the API tab (http://127.0.0.1:7862/…) should be set to the LANGFLOW_URL environment variable in .env we discussed earlier. Be sure to include ?stream=false in the URL initially to get the full response at once. Now, we can query this RAG pipeline in any user-facing application. Let’s explore how we can do this in the next section.
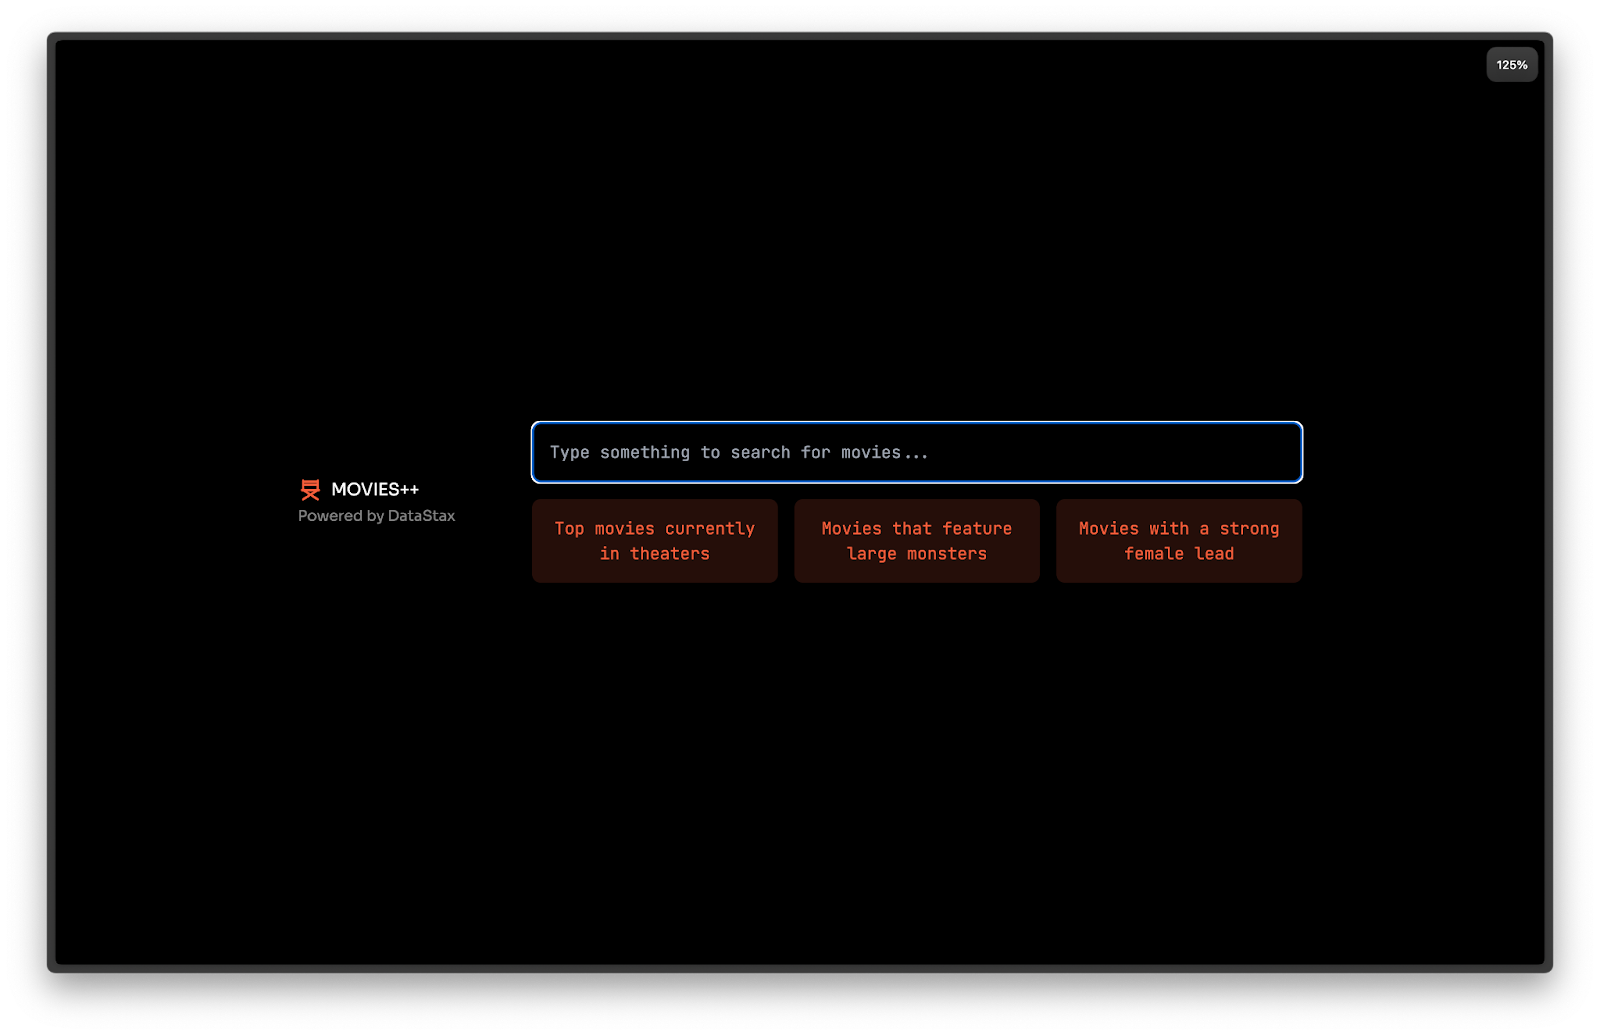
Part 3: Putting it all together in a full application
To put it all together, we’ll create a user interface (UI) with Next.js and Tailwind that looks like this:
All the code for this is on GitHub, where the front end is in the `app` directory on GitHub, and the bulk of the AI logic is in ./app/Ai.tsx. To get started, once you clone the repo, run pnpm install to install dependencies, and npm run dev will run the application locally. This will enable you to run the app and inspect the code and see what it does.
Once the UI is in place, we can add GenAI capabilities to it using the Vercel AI SDK. To start with, we’ll call our Langflow endpoint when the user submits a form. This is how we express this in code—when the form is submitted, we run this function:
async (prompt: string) => {
      setConversation((oldState: any) => [
        ...oldState,
        { role: "user", content: prompt },
      ]);
      const response = await continueConversation({
        role: "user",
        content: prompt,
      });
      setConversation((oldState: any) => [...oldState, response]);
    }
From the snippet above, continueConversation is a function that we define in our AI context. You can read its implementation on GitHub. Additionally, you can learn more about the AI context with the Vercel AI SDK in their documentation.
Generative UI
While this interface works reasonably well, users tend to prefer richer elements over text. After all, a picture is worth a thousand words, and a video is worth a thousand pictures. To provide a richer user experience, we can render movie covers instead of text using tool calling and returning React components.
To express this in code, we can augment our continueConversation function to add some tools like so.
Now, the LLM will call the appropriate tool based on its metadata. Thus, when a user asks for movies as UI, they receive movies as UI. When the user asks for a trailer, they get a trailer.
Conclusion
In this post, we have gone from zero to a truly groundbreaking user experience with GenAI and GenUI. For the full demo, watch this replay of our recent livestream, Building a Superior Movie Search Experience with Vector Search. If you’d like to run this example locally, feel free to clone our repo on GitHub.
We’re just getting started and are very excited to see all of the great things developers will continue to build on DataStax’s world-class tooling for GenAI applications.