The legacy methods of developing with DataStax Enterprise on Windows as discussed in this blog post have evolved to using our new and improved Docker containers, which provide a much better development experience on Windows.
Many architects and developers today are targeting Apache Cassandra as the underlying database because of its ability to easily scale and perform fast under extreme workloads. Developers like the fact that no modifications are required on their part if the application is initially written to just use one Cassandra node, but grows into hundreds in the future.
According to industry analysts such as Evans Data, Microsoft Windows remains the number one platform used by developers to write code and test their work (although Mac has recently been challenging that ranking). Many times developers need a complete environment to do their work, and this translates into having a full functioning copy of the database their application will target running on their Windows workstation or laptop.
For those wanting to develop against Apache Cassandra on Windows, this article will show you how to easily install, setup, and manage/monitor Apache Cassandra on a Windows machine.
Download the Software
The first step is to download the software you’ll need for your Windows machine. In the past, getting Apache Cassandra and all its utilities and management software on Windows wasn’t that easy, but that’s now a thing of the past since DataStax introduced its free Windows installer.
DataStax makes available the DataStax Community Edition, which contains the latest community version of Apache Cassandra, along with the Cassandra Query Language (CQL) utility, and a free edition of DataStax OpsCenter, which is the tool you’ll want to use for managing and monitoring your Cassandra cluster on Windows. To get Datastax Community Edition, go to the downloads page and select the Windows installation package for your version of Microsoft Windows. Note that 32 and 64-bit installers are offered.
Validate Prerequisites
The only prerequisites you’ll need for your Windows machine are:
- Windows 7 or Windows 2008 server
- Java
- Either the Firefox or Chrome Web browser for DataStax OpsCenter (which doesn’t support Internet Explorer yet)
- There is a dependency on the Visual C++ 2008 runtime (32bit), but Windows 7 and Windows 2008 Server R2 has it already installed. If you need it, see: http://www.microsoft.com/download/en/details.aspx?displaylang=en&id=29
Using the Windows Installer
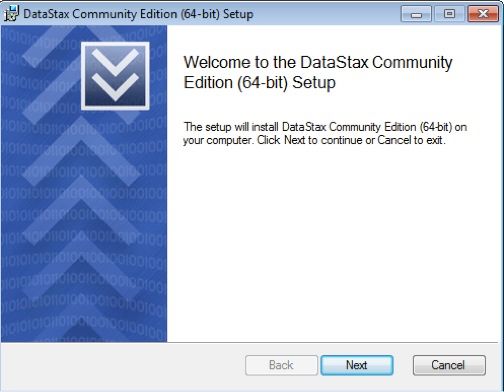
The Windows installer is an MSI package that is run like any other on Windows. When you execute the setup program, you are first presented with an initial welcome panel that identifies your installation package:
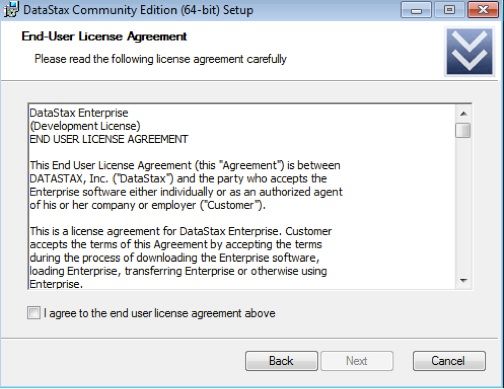
Clicking next takes you to the end user license agreement (don’t worry, the software is free):
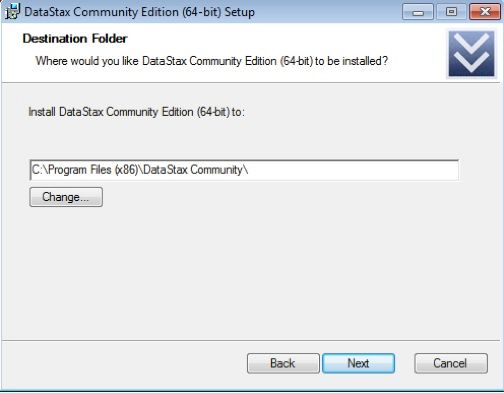
The next panel allows you to specify where the software is to be installed:
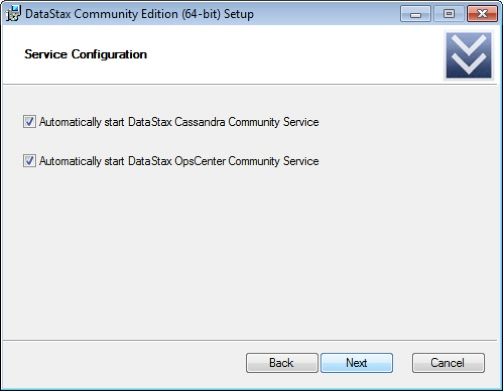
Once the installation directory has been set, the installer will ask how you want to handle the services that will be installed. Installed services include:
- The Apache Cassandra server, labeled DataStax Cassandra Community Service
- The DataStax OpsCenter management tool, which includes both the OpsCenter service used to manage and monitor Cassandra, and the OpsCenter agent, which is used to gather metrics and carry out various tasks on every Cassandra node. Note that the primary OpsCenter service and agent are actually broken out into two distinct services on Windows
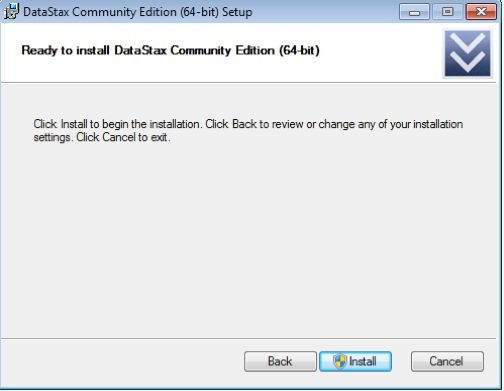
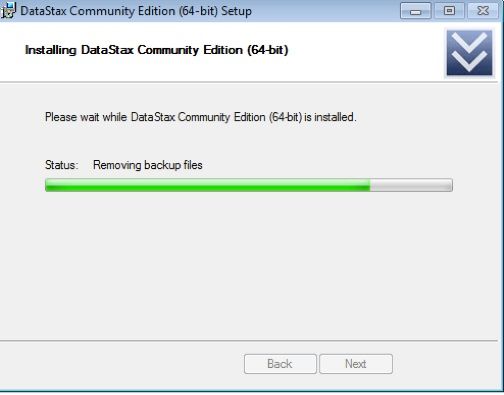
The next panel initiates the installation process:
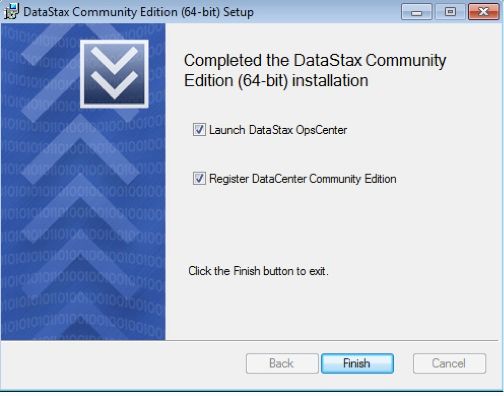
The final panel asks if you would like to launch DataStax OpsCenter in your browser and also register to be updated when new versions of the software become available:
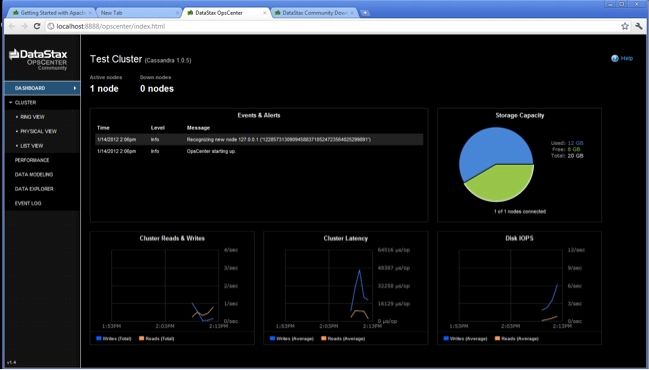
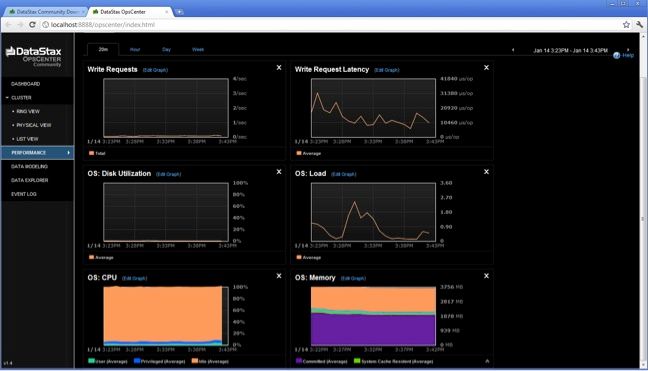
If you choose to execute DataStax OpsCenter (and you have either Google Chrome or Firefox as your default web browser), you’ll be presented with the OpsCenter dashboard:
Finding and Using Installed Software
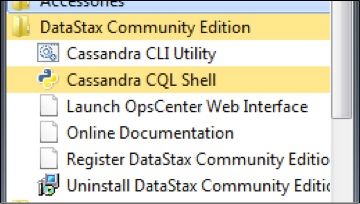
You can find a number of the most used interfaces you’ll need in a Windows program group that the installer creates for you:
The primary interface into Cassandra is the CQL (Cassandra Query Language) shell utility, which can be used to create a new keyspace (analogous to a database in the RDBMS world) for the new Cassandra server:
create keyspace hr with replication={'class':'SimpleStrategy', 'replication_factor':1};Once a keyspace is created, you can create column families (the primary data object in Cassandra), insert data, query data, and more:
- 1
- 2
- 3
- 4
- 5
- 6
- 7
- 8
- 9
- 10
- 11
- 12
- 13
- 14
- 15
- 16
- 17
- 18
- 19
use hr;
create table emp
         ... (empid int primary key,
         ... emp_first varchar,
         ... emp_last varchar,
         ... emp_dept varchar);
insert into emp (empid, emp_first, emp_last, emp_dept)
         ... values (1, 'Fred', 'Smith', 'HR');
insert into emp (empid, emp_first, emp_last, emp_dept)
         ... values (2, 'Mary', 'Taylor', 'HR');
insert into emp (empid, emp_first, emp_last, emp_dept)
         ... values (3, 'Bob', 'Jackson', 'Eng');
select * from emp;

 empid | emp_dept | emp_first | emp_last
-------+----------+-----------+----------
     1 |       HR |      Fred |    Smith
     2 |       HR |      Mary |   Taylor
     3 |      Eng |       Bob |  Jackson
Typing, “Help;” at the CQL prompt will bring up the supported list of commands.
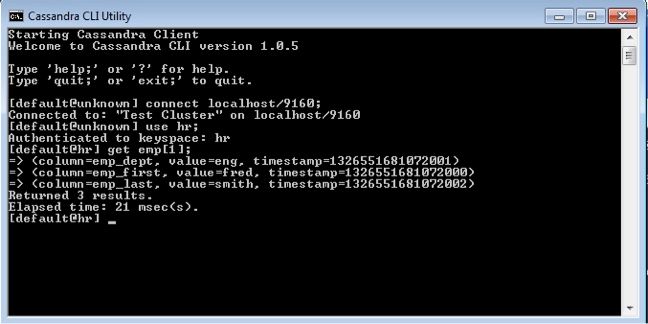
You can also use the Cassandra Command Line Interface (CLI) utility, which until the arrival of CQL was the primary interface used to create, manage, and query objects:
Another utility that’s used to perform various management tasks on Cassandra is the nodetool shell program. It’s not installed as a Windows program group item, and most of what it does can be visually performed through DataStax OpsCenter, but you can access it in the bin subdirectory that’s under the main installation directory:

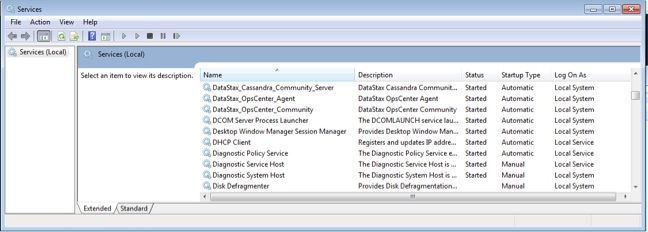
Lastly, you can start, stop, and manage the various services installed via the standard Windows services control panel interface:
Conclusion
That’s all there is to it to get Apache Cassandra and the DataStax OpsCenter visual management and monitoring tool installed on your Windows machine. For other software such as application drivers, client libraries, and more visit the downloads page.
DataStax has many ways for you to advance in your career and knowledge.
You can take free classes, get certified, or read one of our many white papers.
REGISTER FOR CLASSES
GET CERTIFIED
DBA'S GUIDE TO NOSQL

