Loading Data into Astra DB with DataStax Bulk Loader
If you're trying to load data into Astra from a CSV file or from an existing Cassandra table, then you've come to the right place. This example shows how to quickly load data into Astra DB using the DataStax Bulk Loader.
50 minutes • Advanced
Updated March 8, 2022
Loading Data into Astra DB with DataStax Bulk Loader
50 minutes, Advanced, Start Building
If you're trying to load data into Astra DB from a CSV file or from an existing Cassandra table, then you've come to the right place. This example shows how to quickly load data into Astra DB using the DataStax Bulk Loader (DSBulk for short).

Objectives
- Show how to load data into Astra DB from a CSV file on the filesystem or from an existing table in Cassandra
How this Works
Loading data into Astra DB using DSBulk is much like loading data into other Cassandra databases with the addition of the requirement to specify the secure connect bundle as well as the username and password for your Astra DB.
The secure connect bundle is specified using the -b <INSERT PATH> parameter on the command line. See here for more details
The username is specified using the -u <INSERT USERNAME> parameter on the command line. See here for more details
The password is specified using the -p <INSERT PASSWORD> parameter on the command line. See here for more details
This example only touches the tip of the iceberg of functionality. DSBulk has all the functionality to perform complex loading operations to Astra DB as it does to other DDAC and DSE clusters. Check out the docs below for details of the other things it can do:
Get Started
To build and play with this app, follow the build instructions that are located here: https://github.com/DataStax-Examples/dsbulk-to-astra
Prerequisites
Let's do some initial setup by creating a serverless(!) database.
DataStax Astra
-
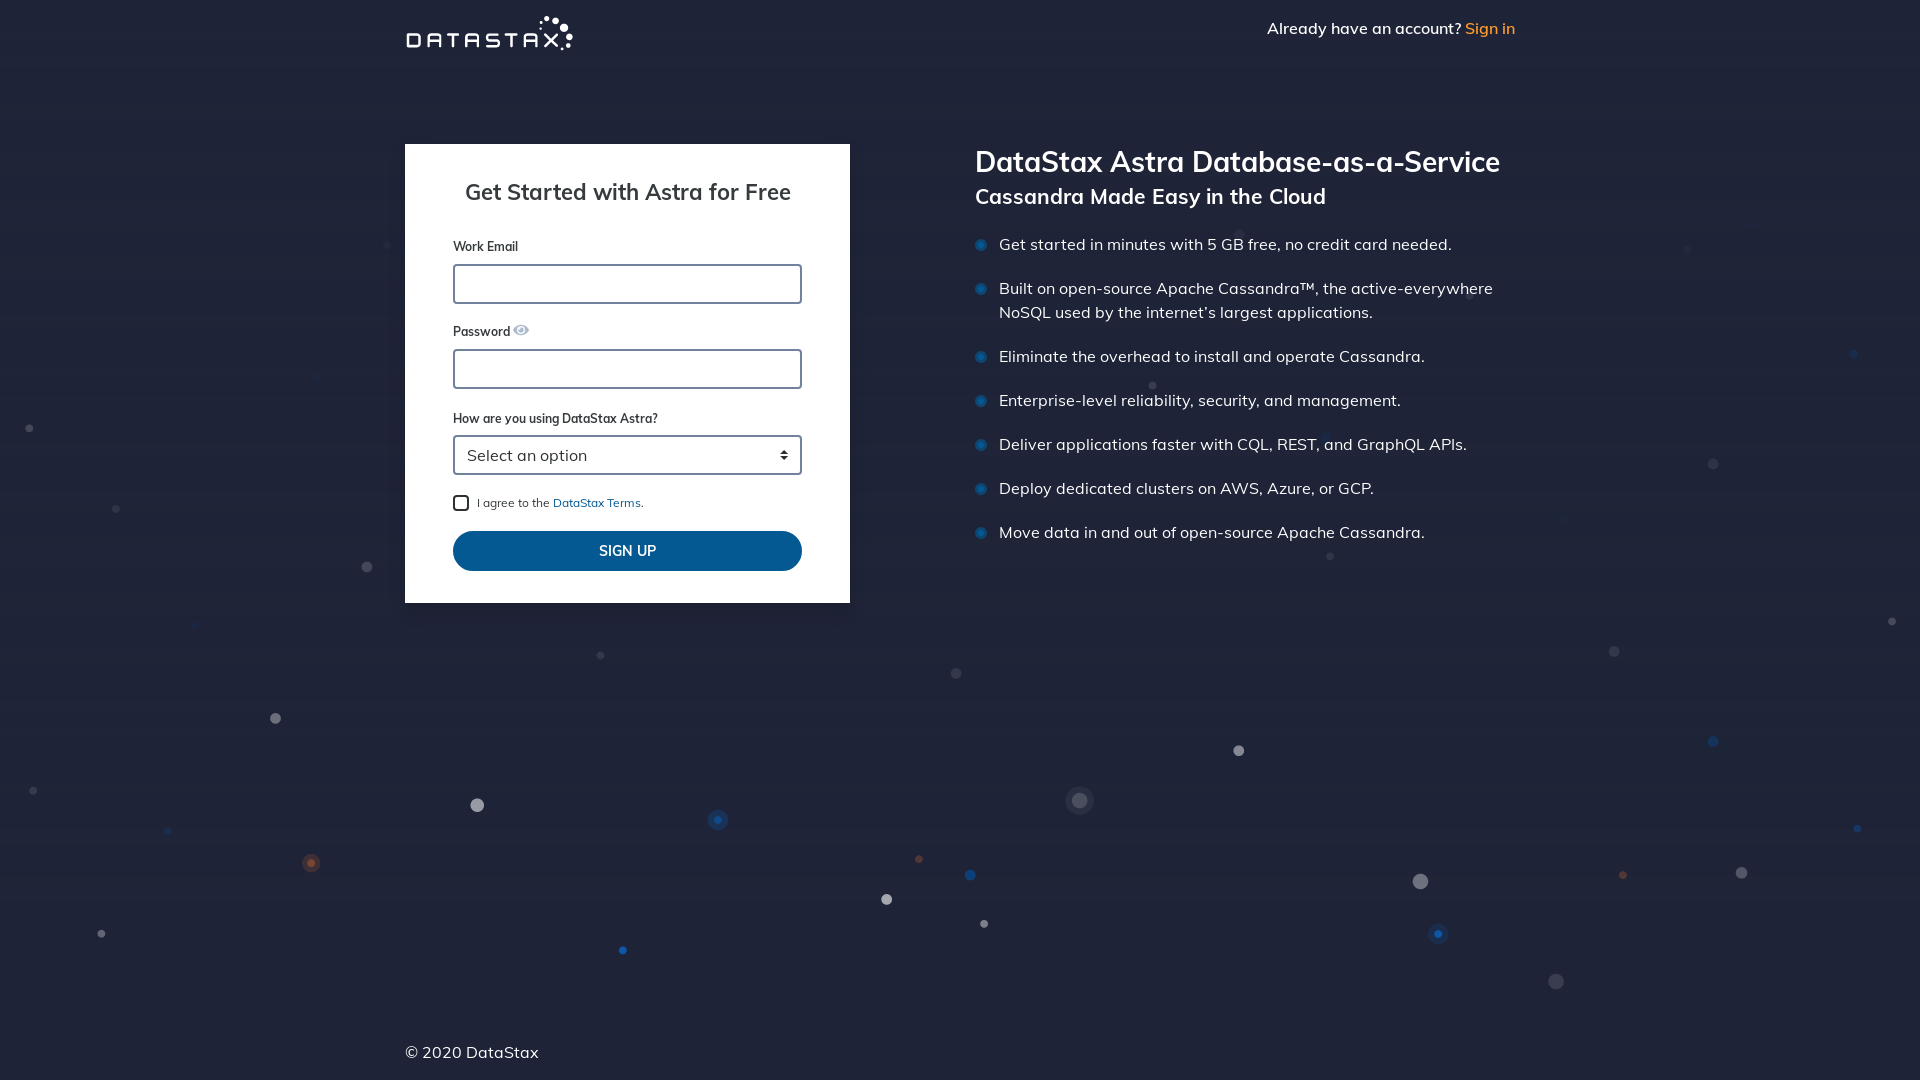
Create a DataStax Astra account if you don't already have one:
-
On the home page. Locate the button
Create Database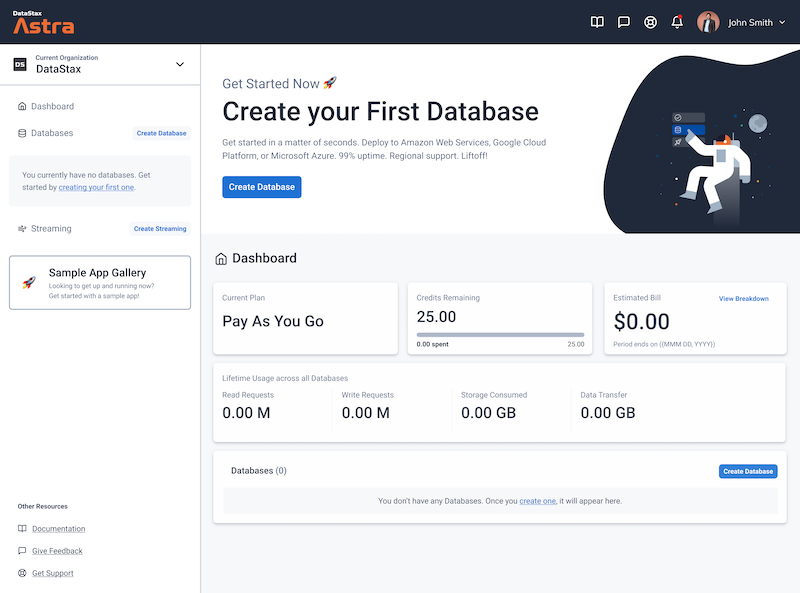
-
Locate the
Get Startedbutton to continue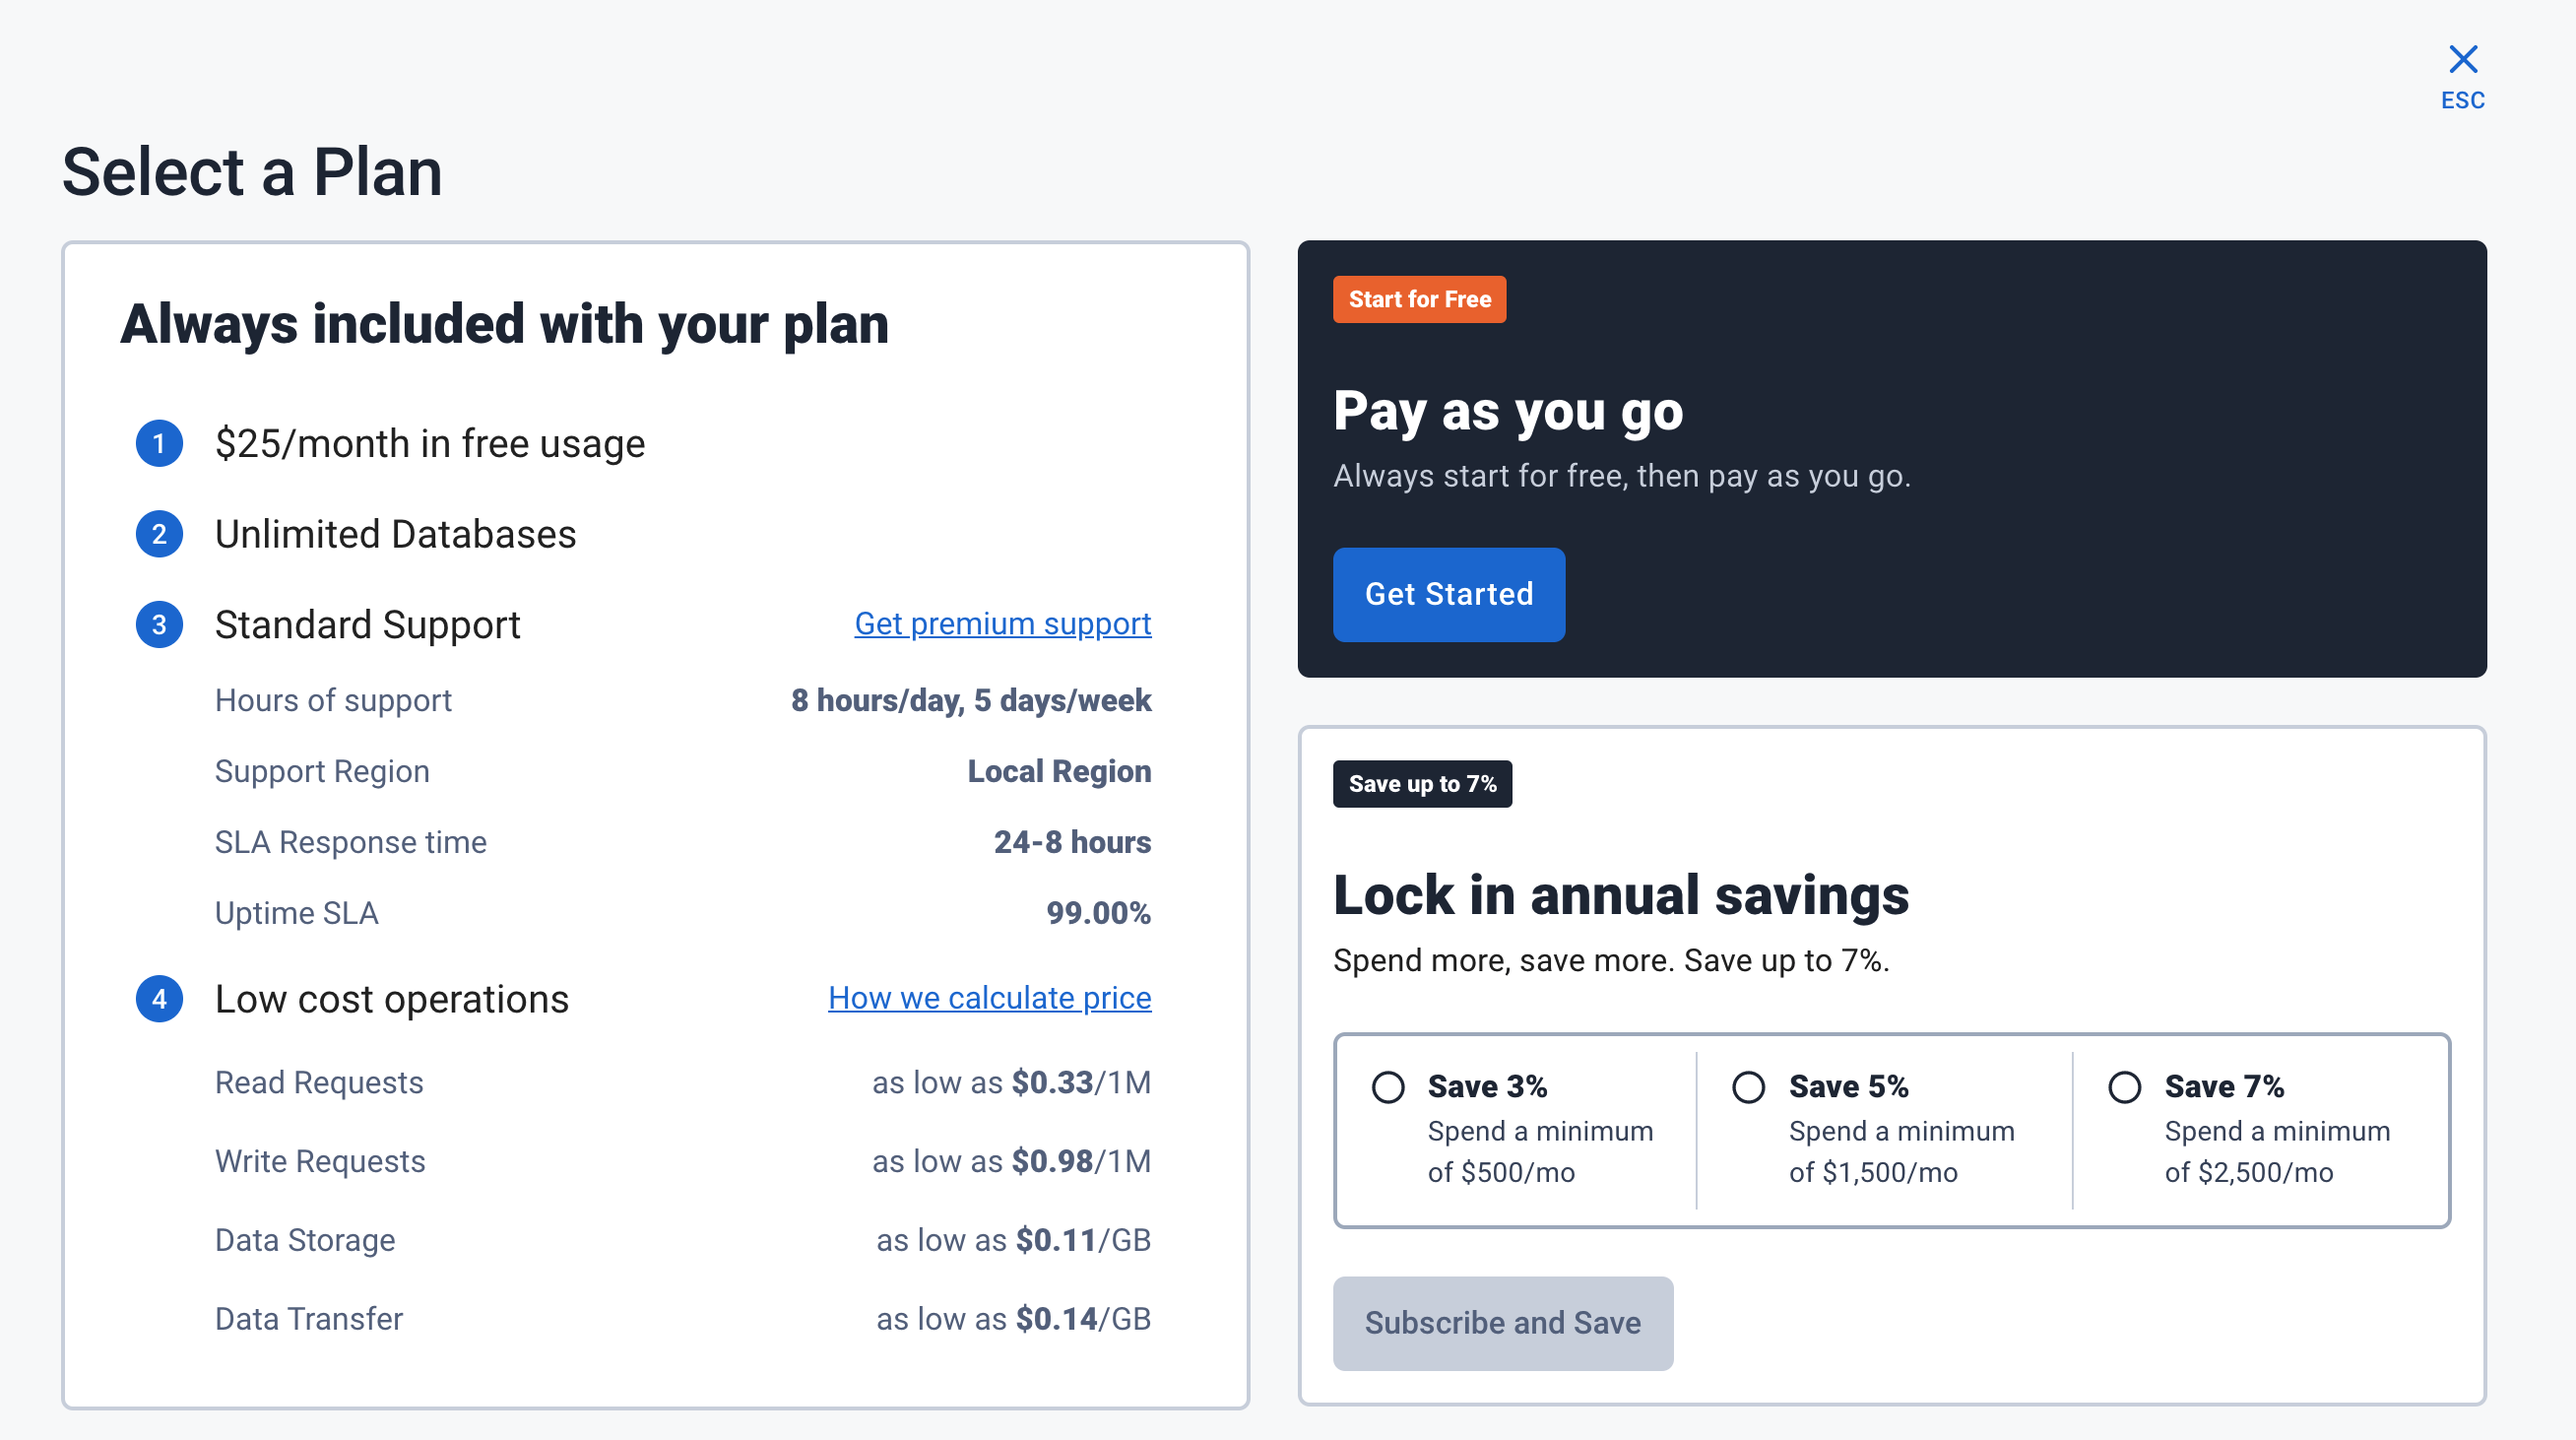
-
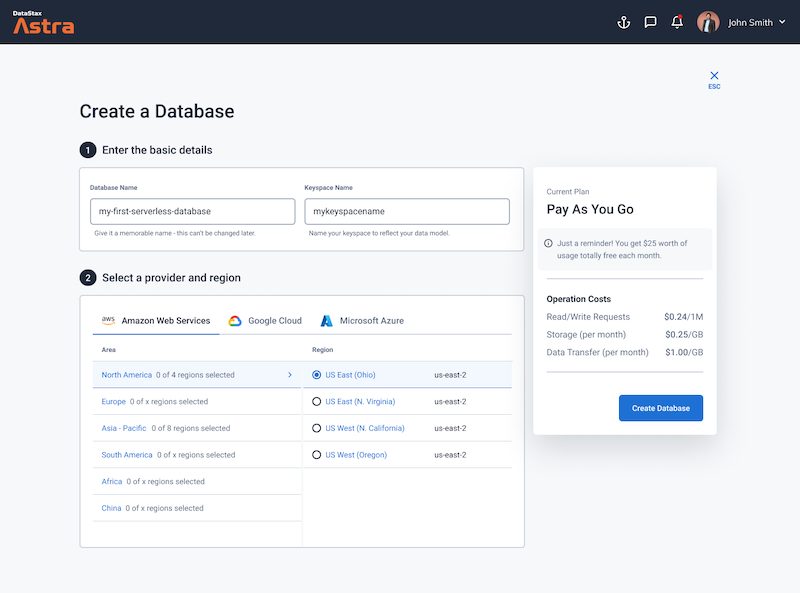
Define a database name, keyspace name and select a database region, then click create database.
-
Your Astra DB will be ready when the status will change from
PendingtoActive💥💥💥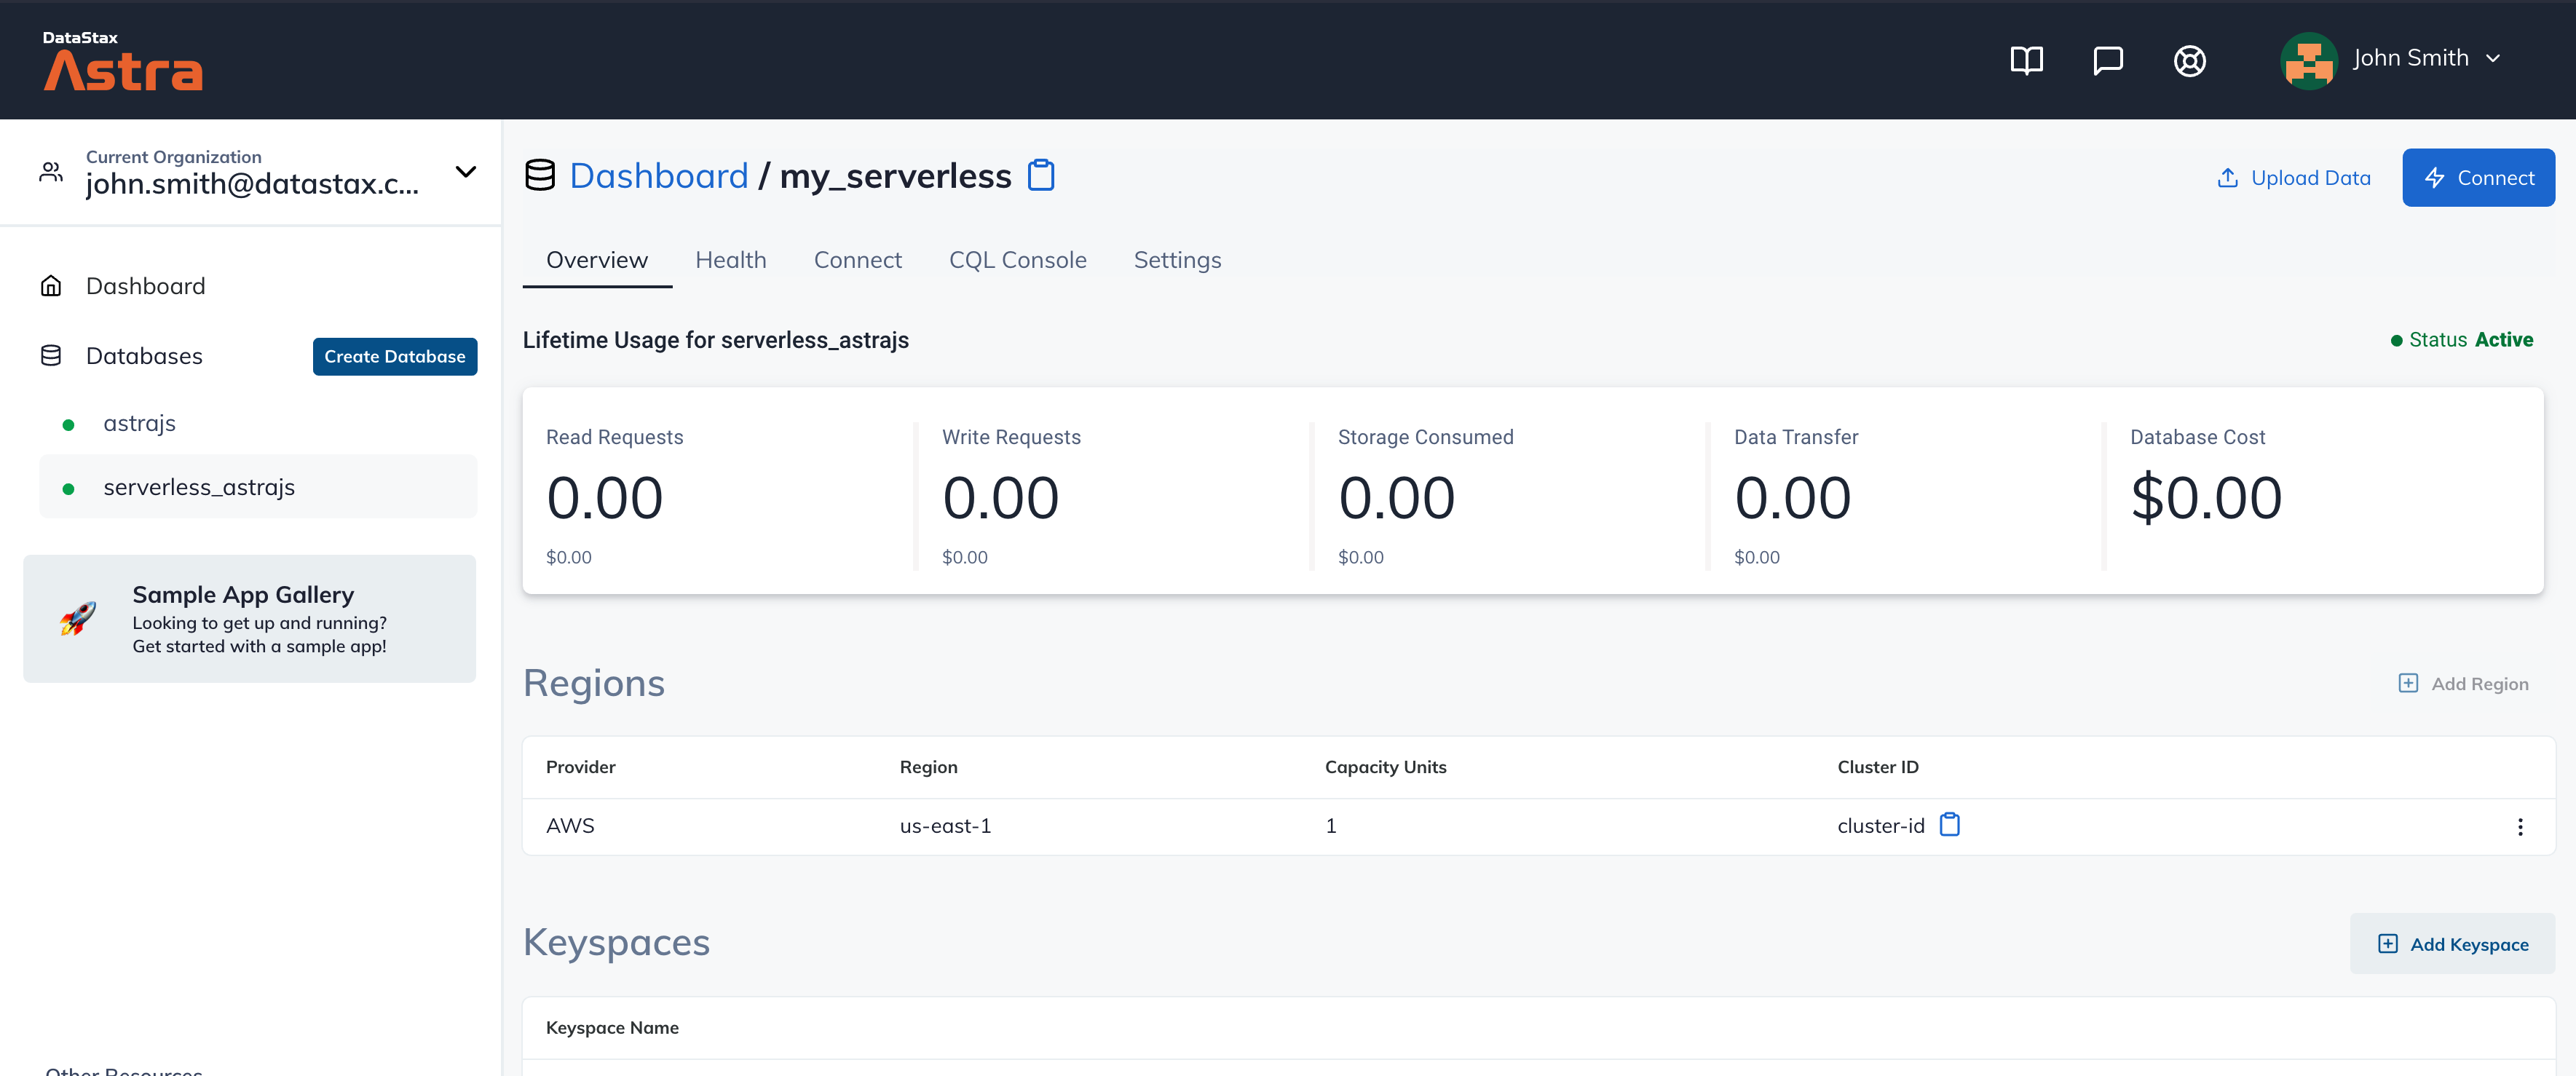
-
After your database is provisioned, we need to generate an Application Token for our App. Go to the
Settingstab in the database home screen.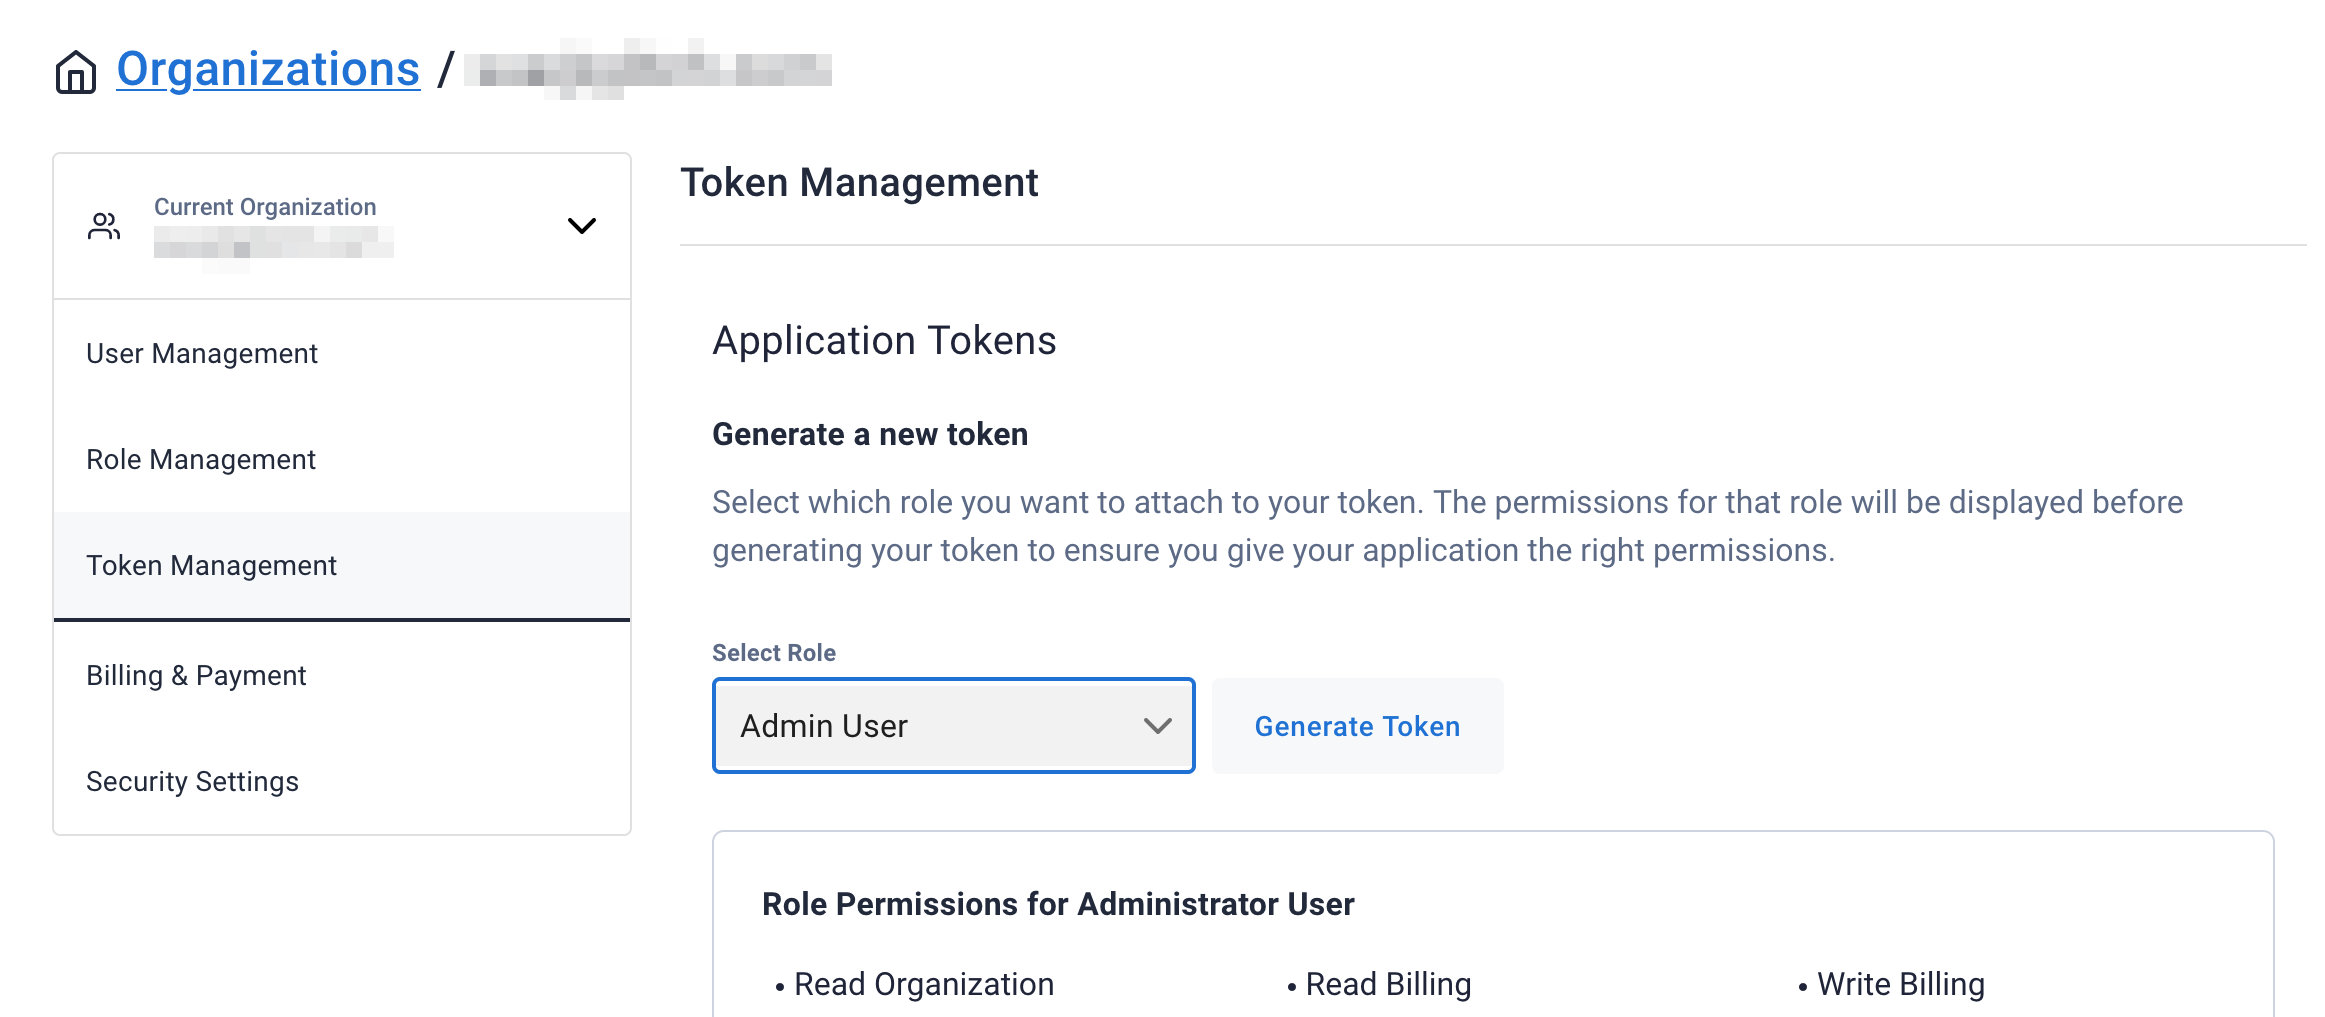
-
Select
Admin Userfor the role for this Sample App and then generate the token. Download the CSV so that we can use the credentials we need later.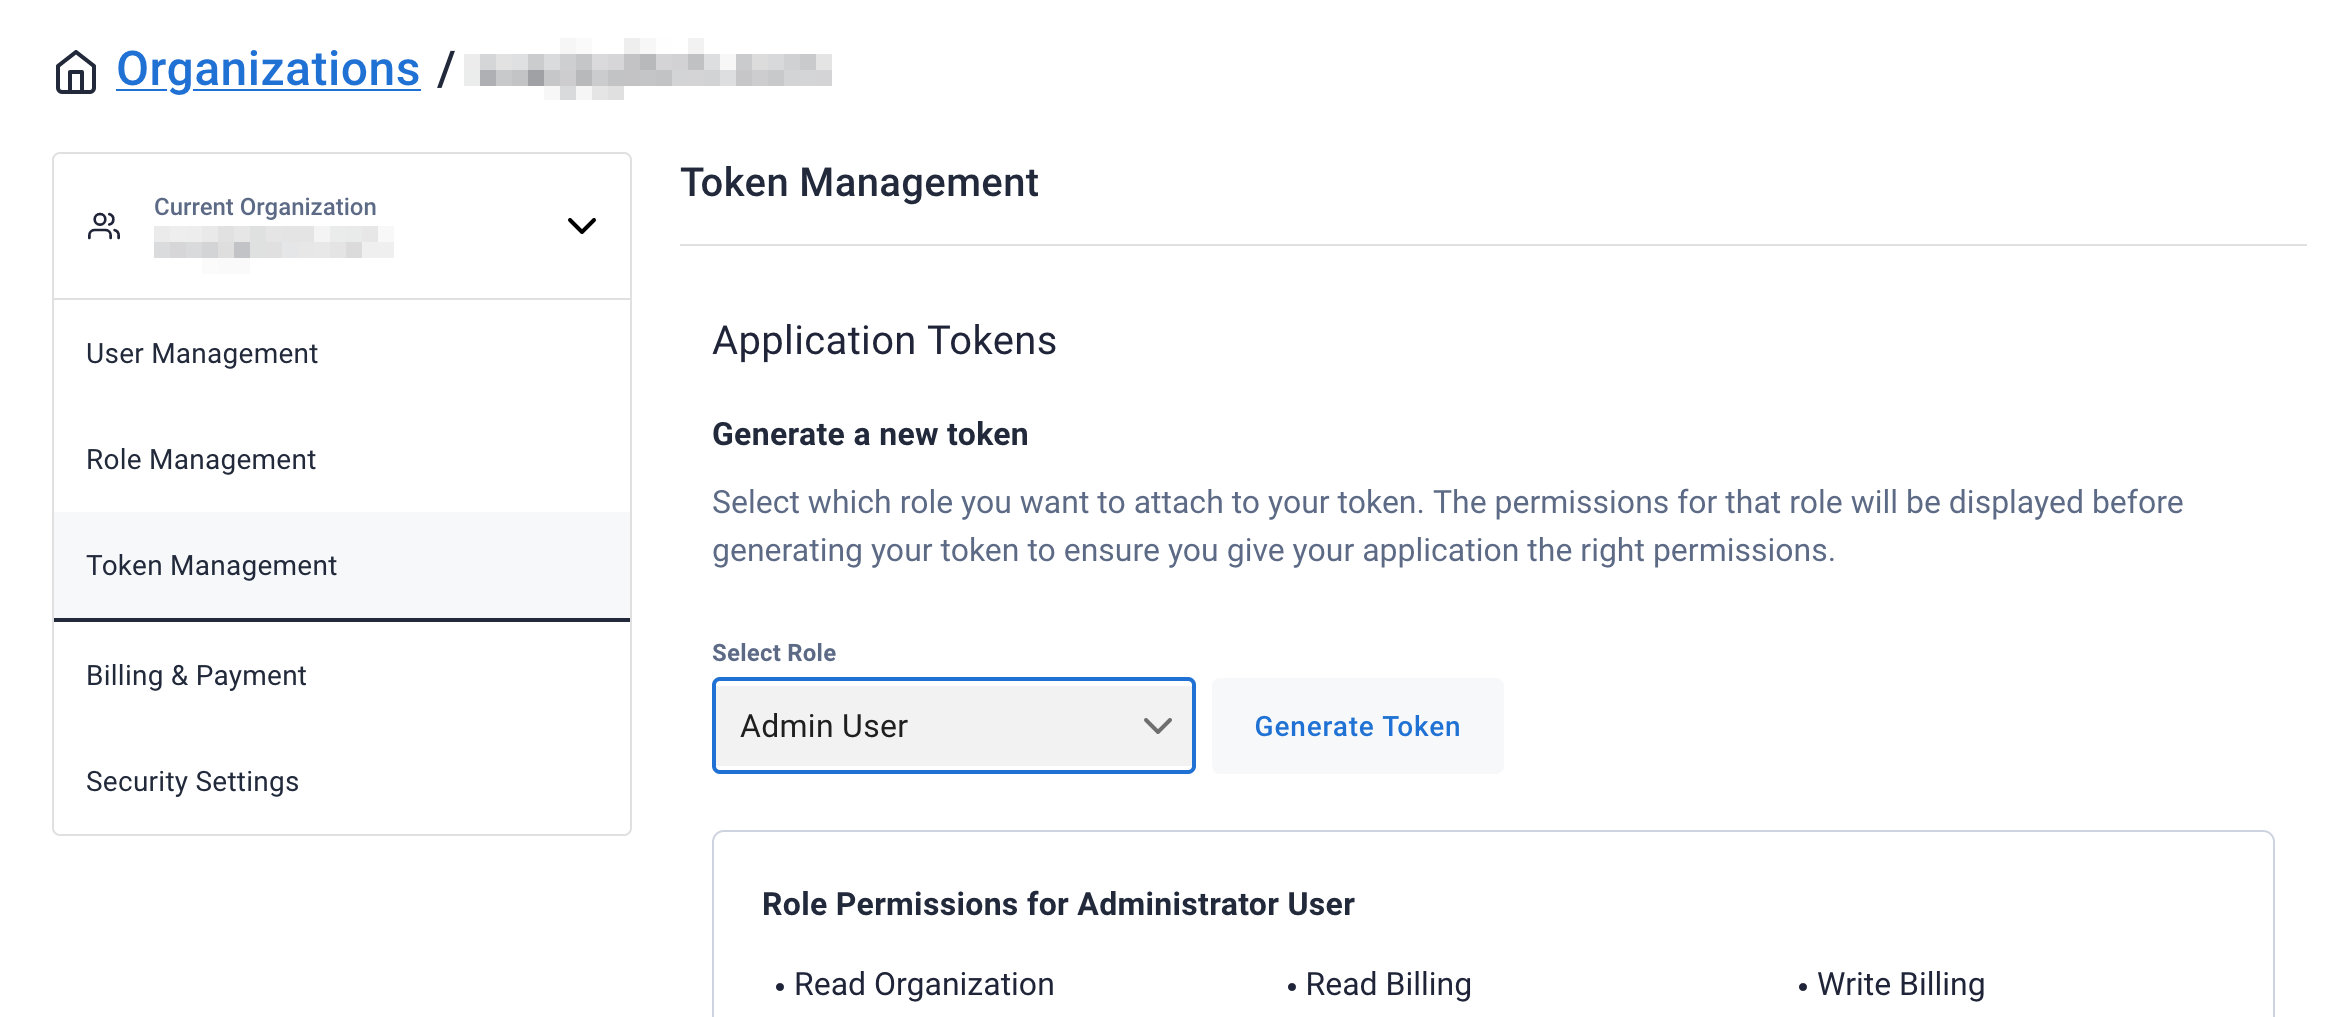
-
After you have your Application Token, head to the database connect screen and select the driver connection that we need. Go ahead and download the
Secure Bundlefor the driver.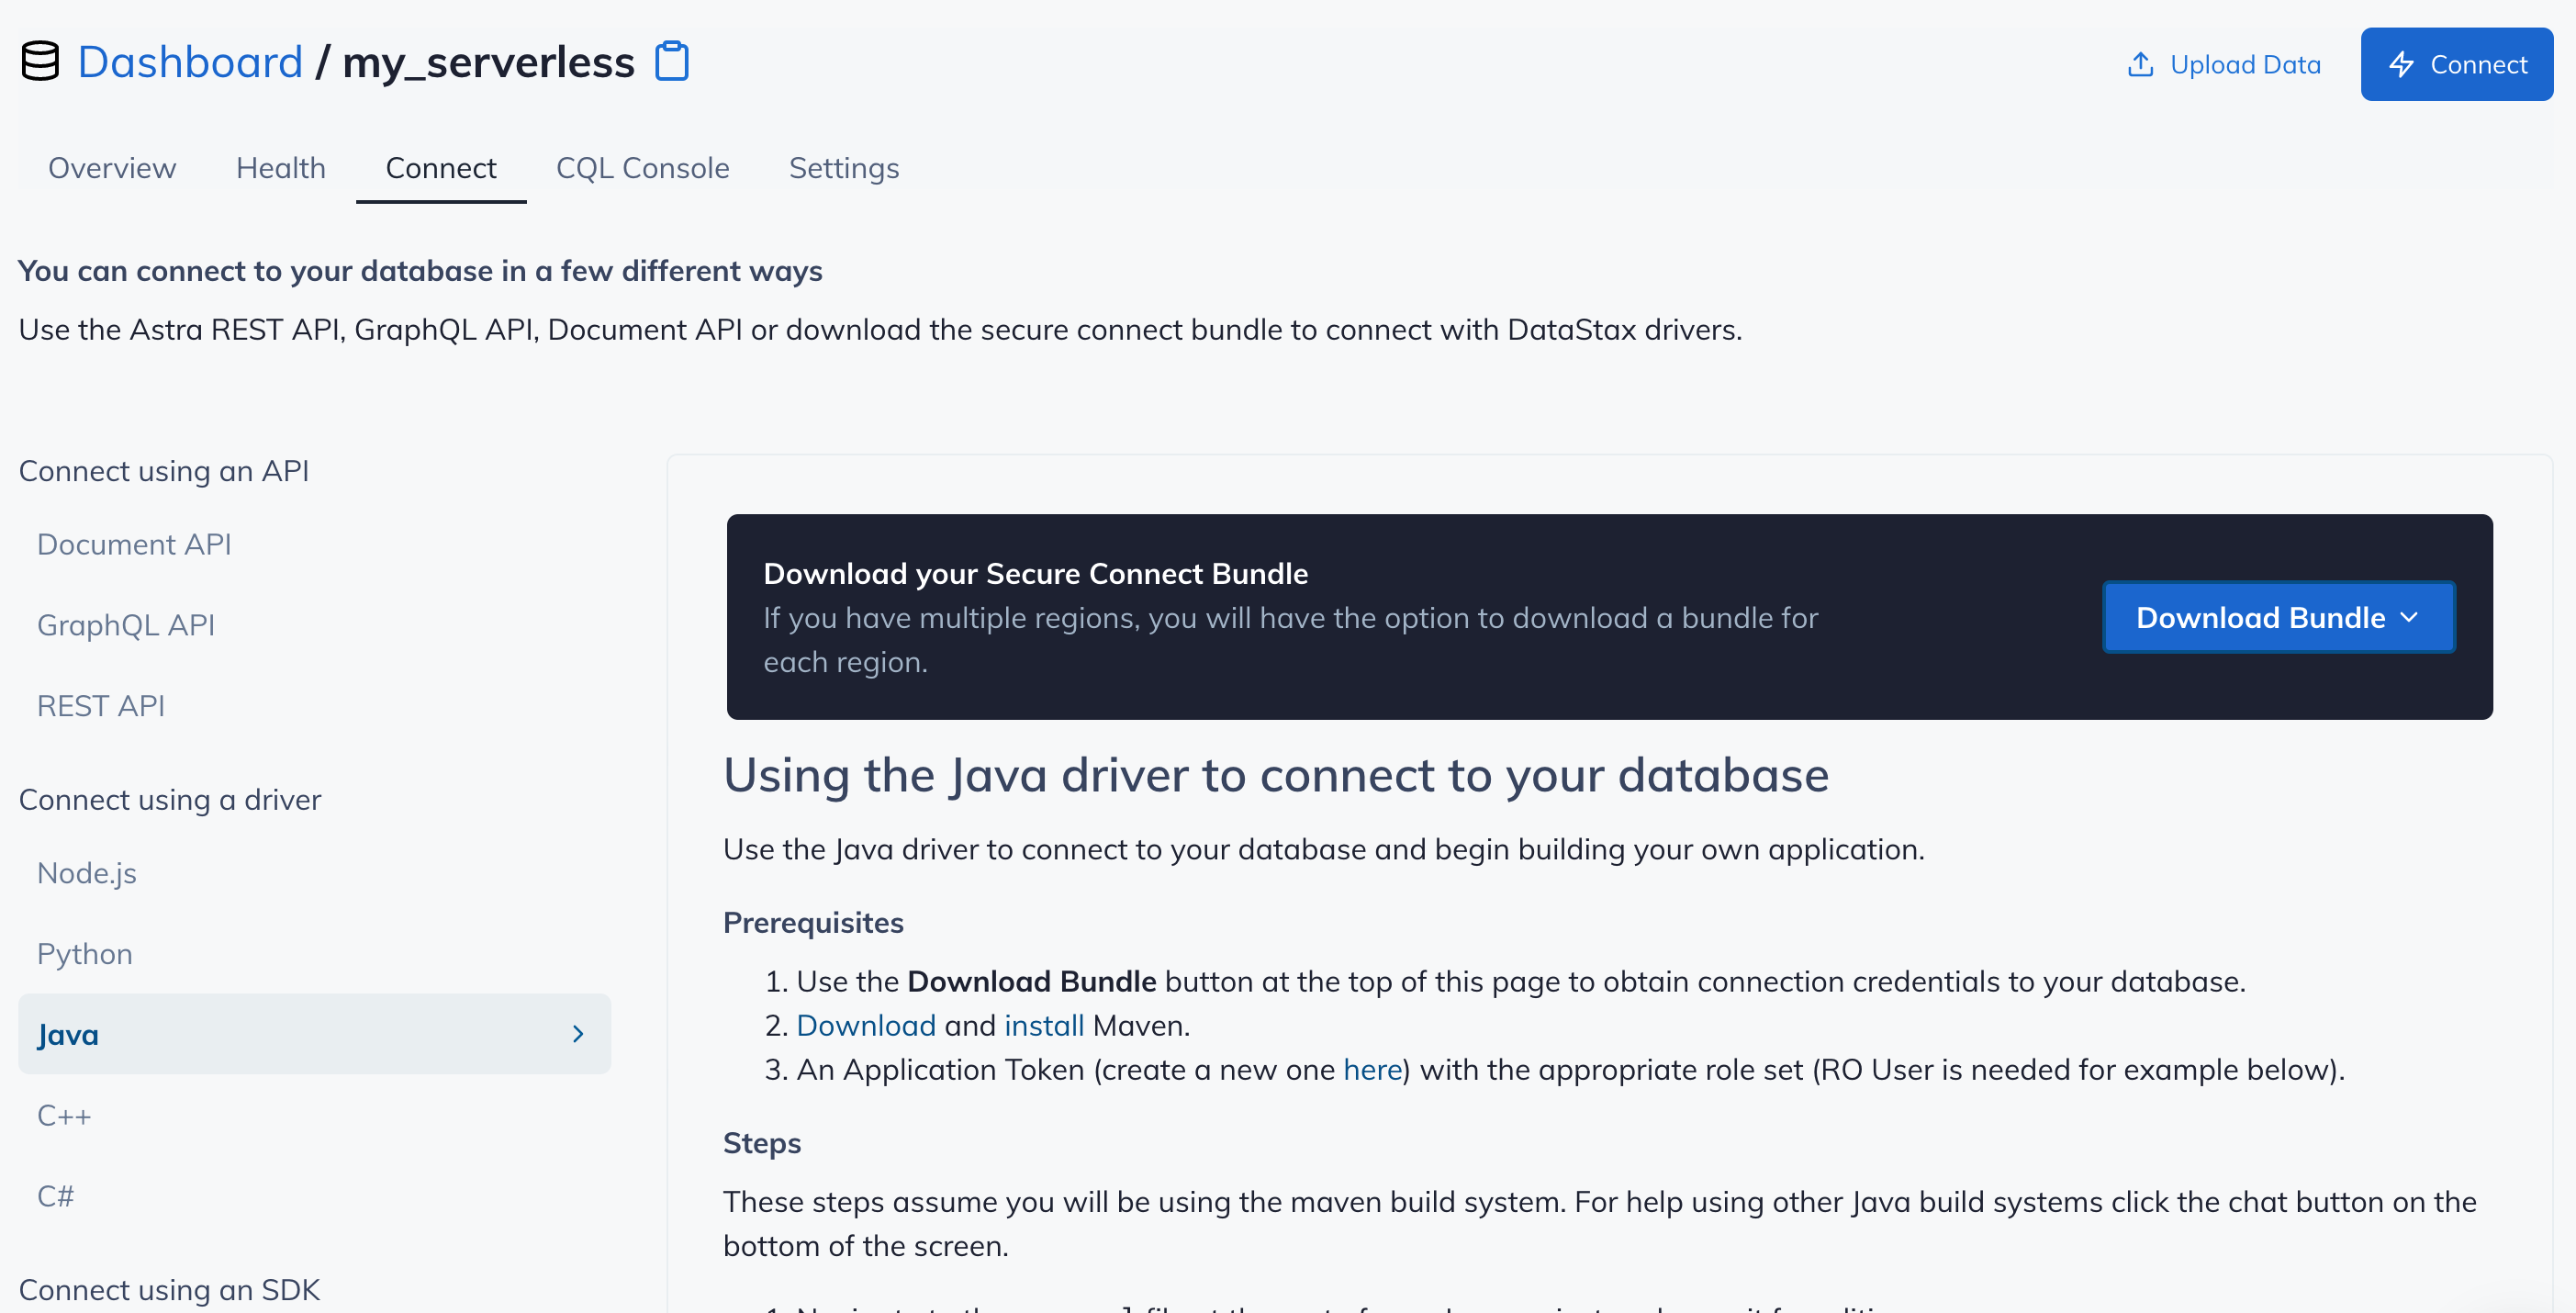
-
Make note of where to use the
Client IdandClient Secretthat is part of the Application Token that we generated earlier.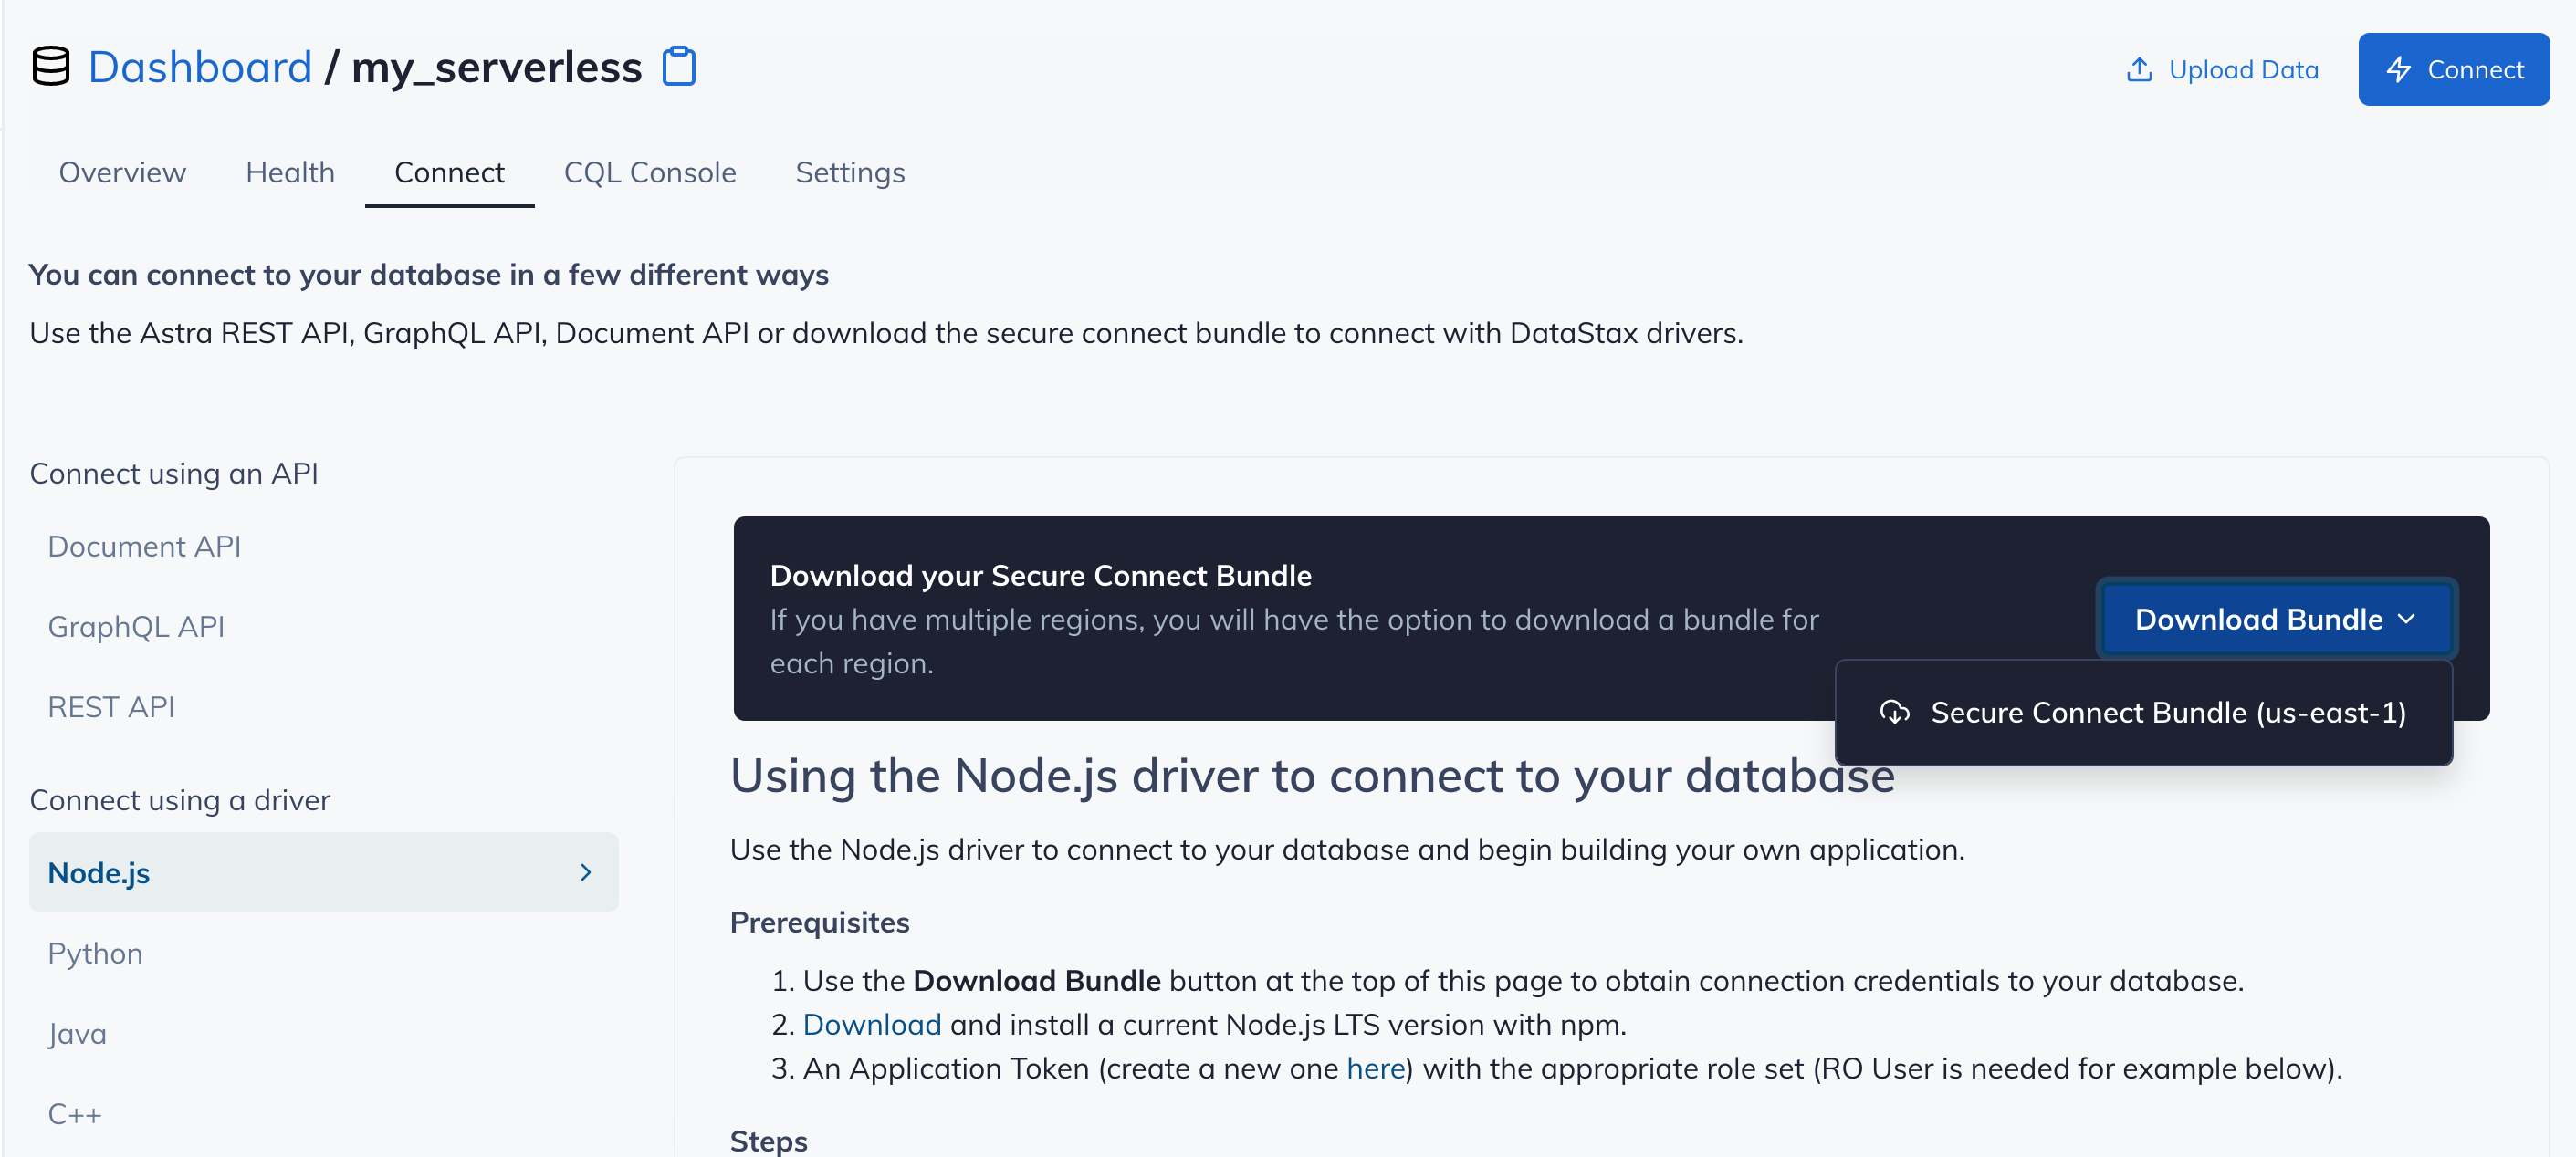
Github
-
Click
Use this templateat the top of the GitHub Repository:
-
Enter a repository name and click 'Create repository from template':
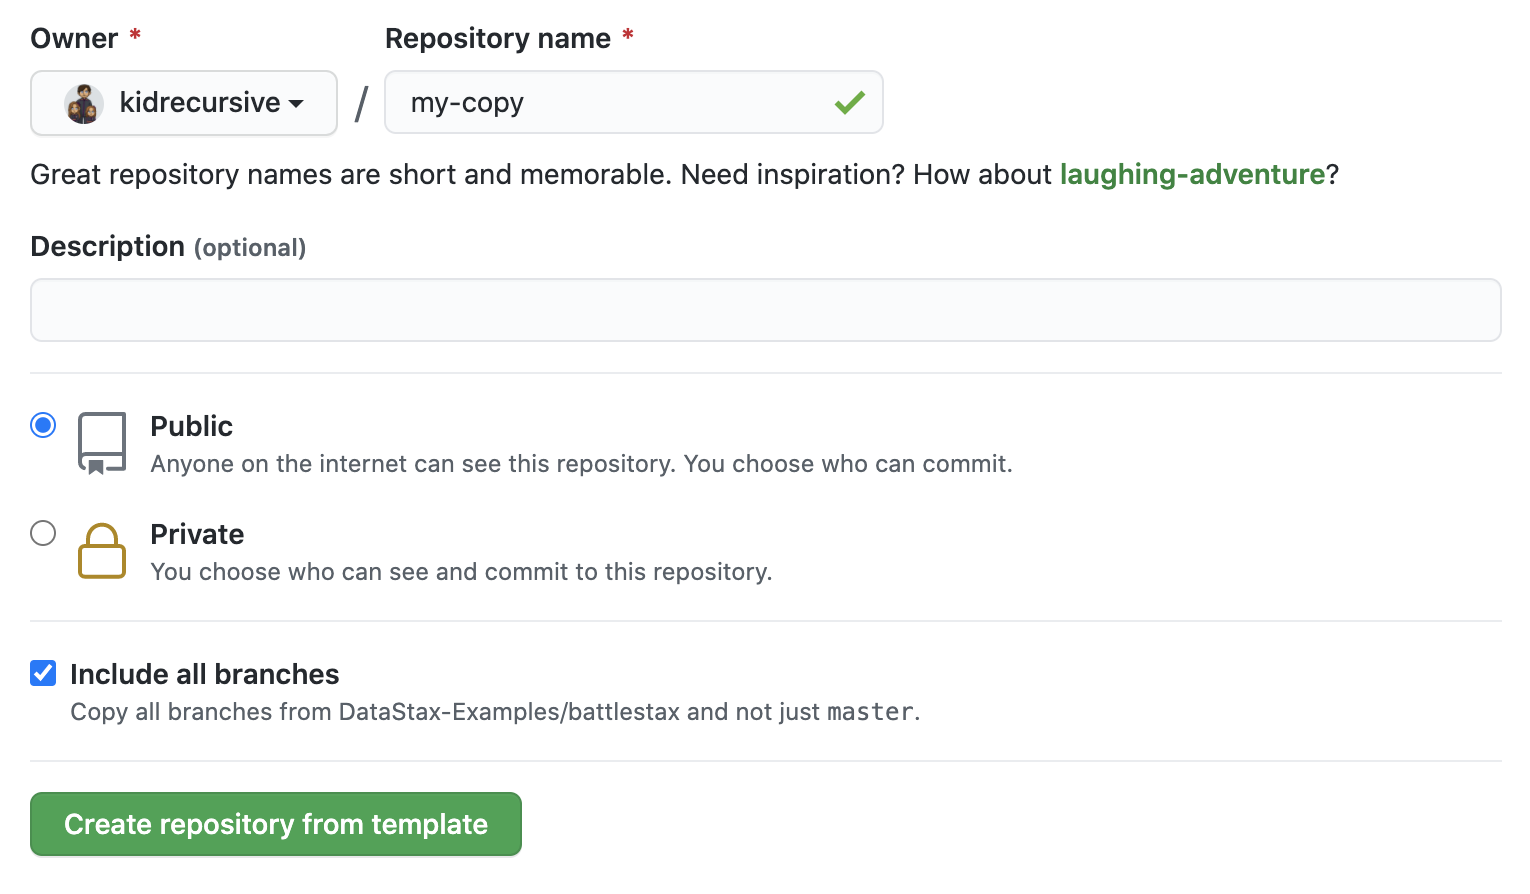
-
Clone the repository:
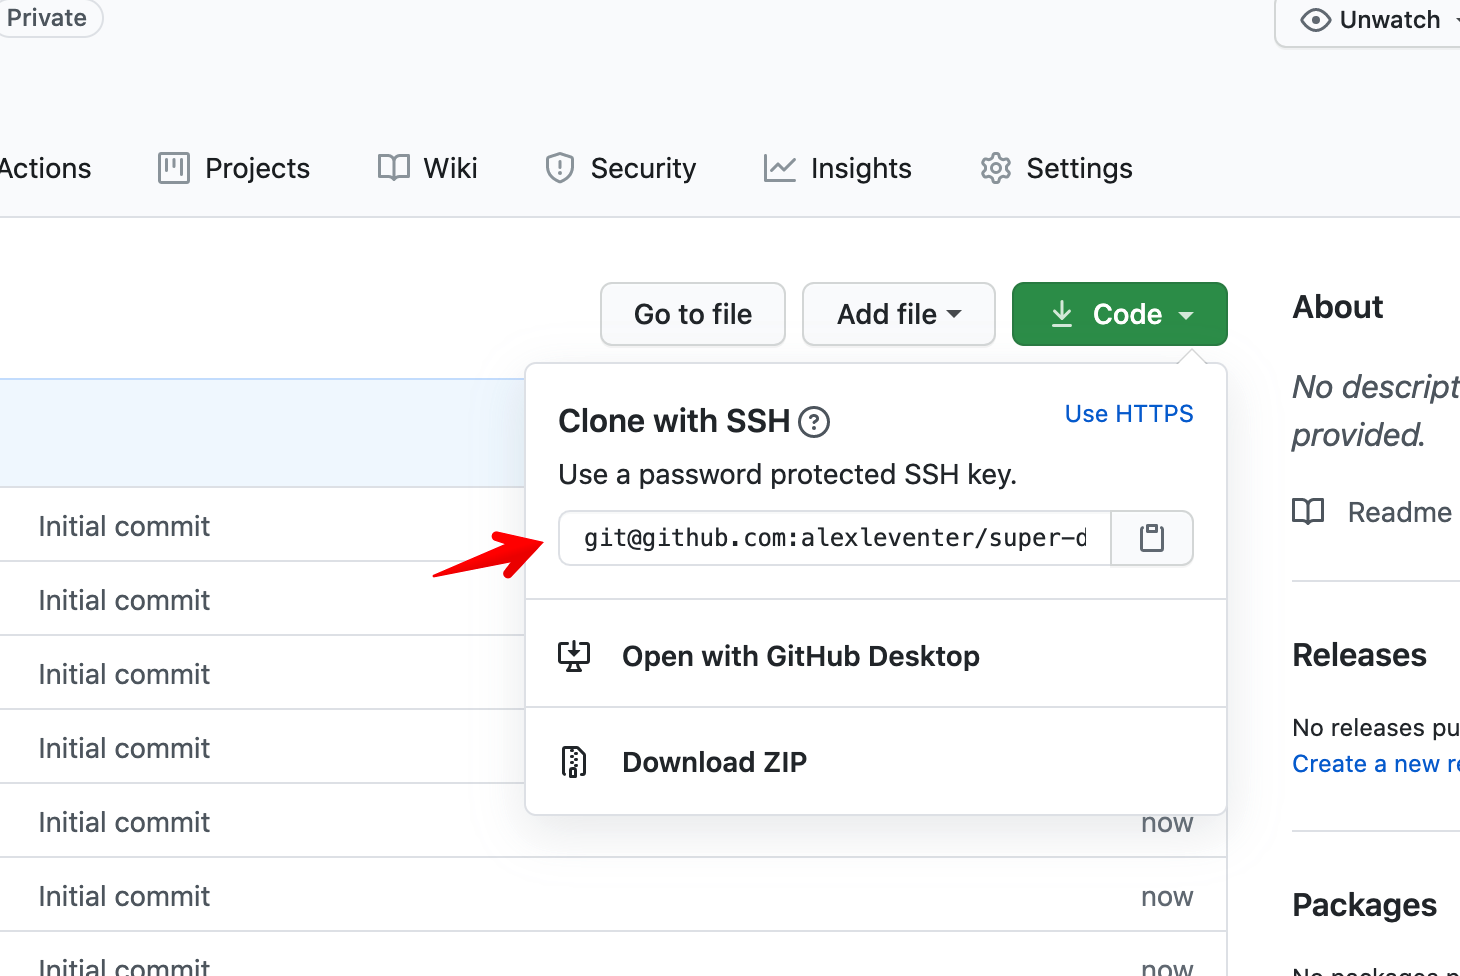
🚀 Getting Started Paths:
Make sure you've completed the prerequisites before starting this step
Running on your local machine
Make sure that you have:
- DS Bulk v1.4.0 or greater
- An Astra cluster with the schema (from schema.cql loaded and credential information Note If you need further instruction on how to obtain the secure connect bundle for your Astra instance then please refer to the documentation located here.
- A Cassandra cluster (optional if you want to load from Cassandra)
To migrate data into Astra DB using DS Bulk you first need to ensure that the target Astra DB keyspace has had the schema for the video_ratings_by_user table created. This is done via using the DataStax Developer Studio that is embedded in your Astra DB instance. For more information on how to use the embedded Studio instance please check the documentation located here.
Loading from CSV
Here is an example command that will load the data.csv file into the video_ratings_by_user table in your Astra DB instance.
Note This loads the data from the file stored in the github repo so the machine running this command will need access to the internet.
./dsbulk load -url https://raw.githubusercontent.com/DataStax-Examples/dsbulk-to-astra/master/data.csv -b /path/to/bundle.zip -k <KEYSPACE NAME> -t video_ratings_by_user -u <USERNAME> -p <PASSWORD>
Loading from an existing Cassandra table
To load data from an existing table in a Cassandra keyspace into Astra DB there are two options to accomplish this.
Option 1 - Unload and Load in Separate Steps
The first option for loading data from an existing Cassandra cluster into Astra DB requires that you unload the data from the Cassandra cluster into a local file and then load the data into Astra DB. The commands to accomplish this look like this:
./dsbulk unload -h <CASSANDRA CLUSTER IP> -k <KEYSPACE NAME> -t video_ratings_by_user -url /path/to/file/migrate.csv
./dsbulk load -url /path/to/file/migrate.csv -b /path/to/bundle.zip -k <KEYSPACE NAME> -t video_ratings_by_user -u <USERNAME> -p <PASSWORD>
Option 2 - Unload and Load by Chaining Steps
The second option for loading data from an existing Cassandra cluster into Astra DB requires that you unload the data from the Cassandra cluster and pipe that into a command load the data into Astra DB. This has some advantages as it will run in a single command but it will only run single threaded as it uses stdin/stdout. The commands to accomplish this look like this:
./dsbulk unload -h <CASSANDRA CLUSTER IP> -k <KEYSPACE NAME> -t video_ratings_by_user -url /path/to/file/migrate.csv | ./dsbulk load -url /path/to/file/migrate.csv -b /path/to/bundle.zip -k <KEYSPACE NAME> -t video_ratings_by_user -u <USERNAME> -p <PASSWORD>
Validating the Results
After running any of these commands you should see a result printed to the screen similar to
total | failed | rows/s | p50ms | p99ms | p999ms | batches
  101 |      0 |     94 | 63.92 | 70.25 |  70.25 |   10.10
Operation LOAD_20191113-185907-331567 completed successfully in 0 seconds.
Last processed positions can be found in positions.txt
If you would like to check to see that all your data has loaded correctly then you can use the count functionality of DS Bulk to verify that the data has been loaded using the command below:
./dsbulk count -b /path/to/bundle.zip -k <KEYSPACE NAME> -t video_ratings_by_user -u <USERNAME> -p
If you were following along with this example you will get a number of 101 rows.


