
Many architects and developers today are targeting Apache Cassandra™and DataStax Enterprise (DSE) as their database of choice because of its ability to easily scale and perform under extreme workloads. Developers like the fact that no modifications are required on their part if the application is initially written to just use one DSE node, but scales into hundreds in the future.
According to the 2018 Stack Overflow Developer Survey Microsoft Windows was the number one platform used by developers at 49.9%, followed by MacOS at 26.7%. Many times these developers need a complete environment to do their work, and this translates into having a fully functioning copy of the database their application will target running on their Windows workstation or laptop.
Years ago, we recommended running DSE in virtual machines for Windows, but developers found this would take hours of effort getting the OS and DSE setup inside the virtual machine. With Docker, you can have a DSE instance up and running on Windows in a matter of minutes.
This article will show you how to easily work with DSE, our visual developer tool (DataStax Studio), and our management console (DataStax OpsCenter) on Windows.
Prerequisites
- Basic understanding of Docker images and containers.
- A machine running Windows 10 64-bit with Docker installed.
- A Supported Browser in Chrome or Firefox for OpsCenter and Studio use.
- When using Docker for Windows, the default resources allocated to the linux VM running docker are 2GB RAM and 2 CPU's. Make sure to adjust these resources to meet the resource requirements for the containers you will be running. For this article, I suggest 6GB of Ram and 2 CPUs. More information can be found here on adjusting the resources allocated to docker.
Getting Started
In this article we will be running three DataStax Containers:
Once you have your Windows environment setup with Docker running, you can jump right in, opening a PowerShell by pressing the windows key + R, typing PowerShell and pressing enter.

Starting a DSE container
By default, the DSE server image is set up as a general purpose operational/transactional database node. To set up the node with DSE advanced functionality, add the option that enables that feature to the end of the docker run command.
|
DSE start switches |
Description |
|
-s |
Enables and starts DSE Search. |
|
-k |
Enables and starts DSE Analytics. |
|
-g |
Enables and starts DSE Graph. |
You can combine the options to run more than one feature. For more examples, see the getting started DSE documentation.
Let's begin by starting the DSE server. Note that when the container starts for the first time, it will take a minute to bootstrap.
To start the DSE container, we are using the docker run command with the environment variable (-e DS_LICENSE=accept) to accept the DataStax License, --name my-dse (names our container) -d detaches from the terminal (runs in the background), and we are using the latest DSE image datastax/dse-server (we can add a specific version of dse by adding a tag to the end for the version we want to use, for example, to use run DSE 6.7.1 we would use datastax/dse-server:6.7.1).
docker run -e DS_LICENSE=accept --name my-dse -d datastax/dse-server

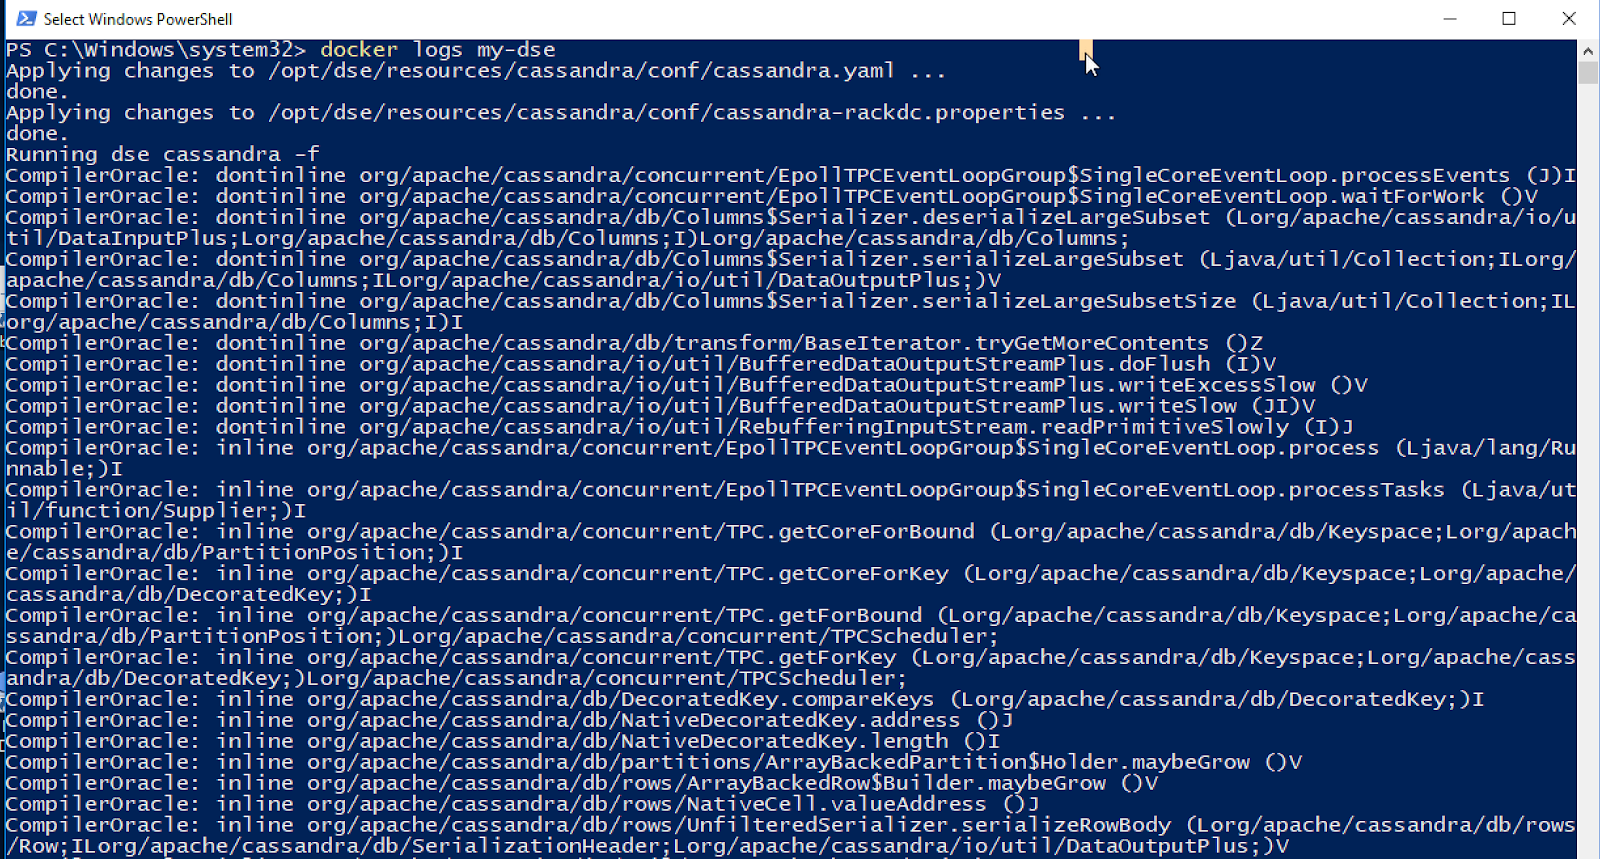
Once started, we can take a quick look at the DSE logs to ensure all is well:
docker logs my-dse
Now that you have a running DSE container, let’s get familiar with how to run some of the commands you will use on a regular basis. You will need your PowerShell here. The general syntax for commands against your dse container will be:
docker exec -it
For example, to get a cqlsh prompt that allows you to enter Cassandra Query Language (CQL; an SQL-like language) against the DSE Server, type:
docker exec -it my-dse cqlsh

To exit the shell, type ‘exit’; and press enter or CTRL D.
To see the basic status of your personal DSE server, you can use the nodetool command line utility in conjunction with the ‘status’ command:
docker exec -it my-dse nodetool status

To see different information about your single node ‘ring’ / cluster, use dsetool ‘ring’ command:
docker exec -it my-dse dsetool ring

These are only a few of the commands that are available. See the official DSE Admin Guide for advanced usage and more commands.
Since most personal laptops have limited resources, we will stop and remove this DSE container for our next exercise (note that this will remove its state and any changes made will be lost).
docker rm -f my-dse
Monitoring with OpsCenter
Next, let’s create both a DSE container and an DSE OpsCenter container to administer and monitor DSE.
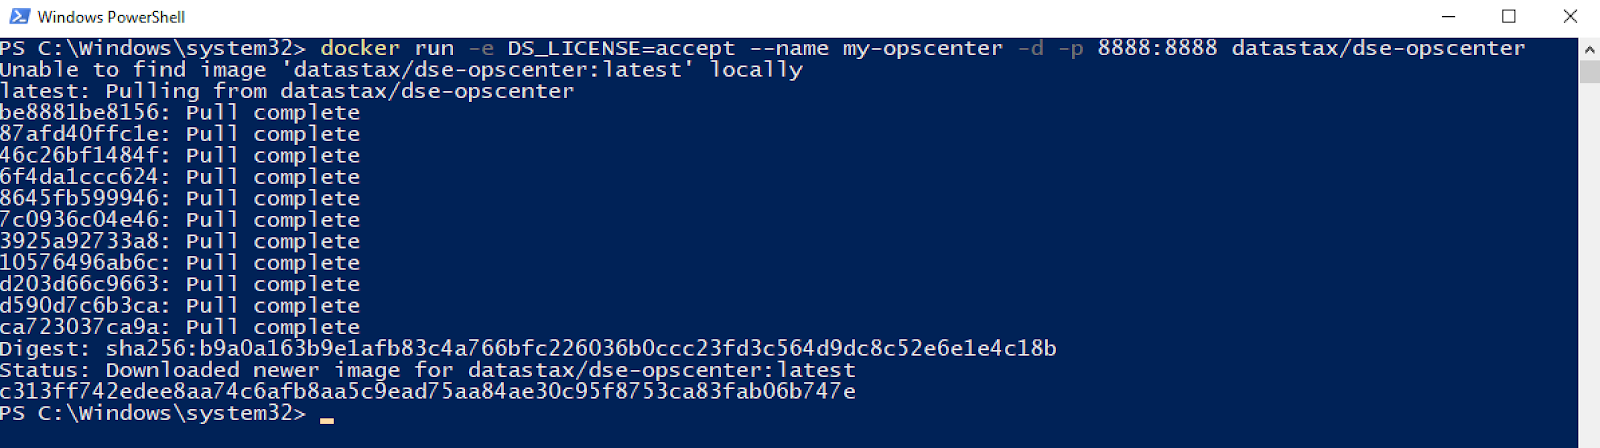
First, create an OpsCenter container:
docker run -e DS_LICENSE=accept --name my-opscenter -d -p 8888:8888 datastax/dse-opscenter
When using docker run, if the images do not exist locally, Docker will automatically pull the image, store it locally, and start the container. This could take a few minutes depending on your internet connection.
Next, create a DSE container, providing the ‘--link’ flag to the OpsCenter container. By providing --link, the DataStax agent will be ‘automagically’ configured and started.
docker run -e DS_LICENSE=accept --link my-opscenter:opscenter --name my-dse -d datastax/dse-server

Third, find the IP address of your new DSE node:
docker inspect my-dse | FINDSTR "IPAddress"

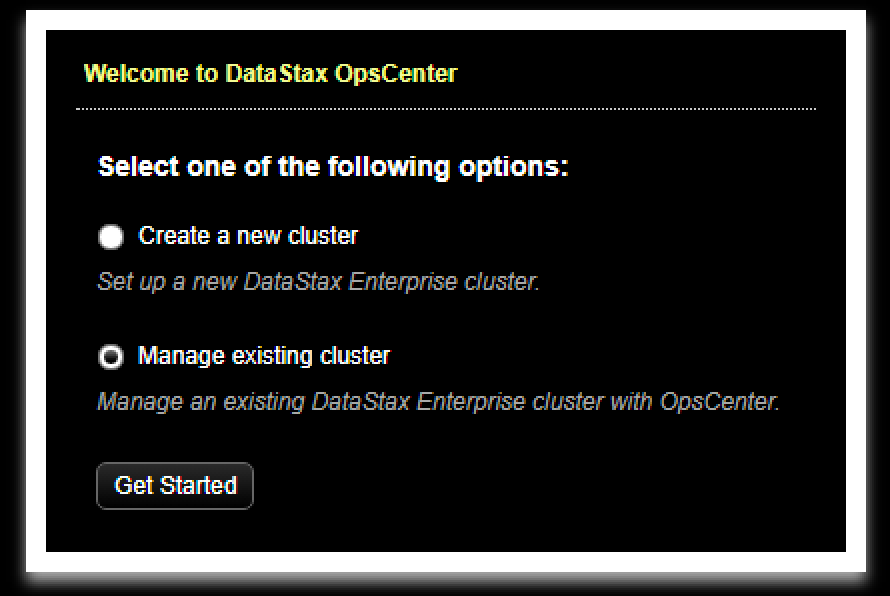
Then, open a browser and point to http://localhost:8888. The Welcome to DataStax OpsCenter dialog displays.
Click Manage existing cluster.
Then, enter the IP address for the DSE Node (from the previous step):
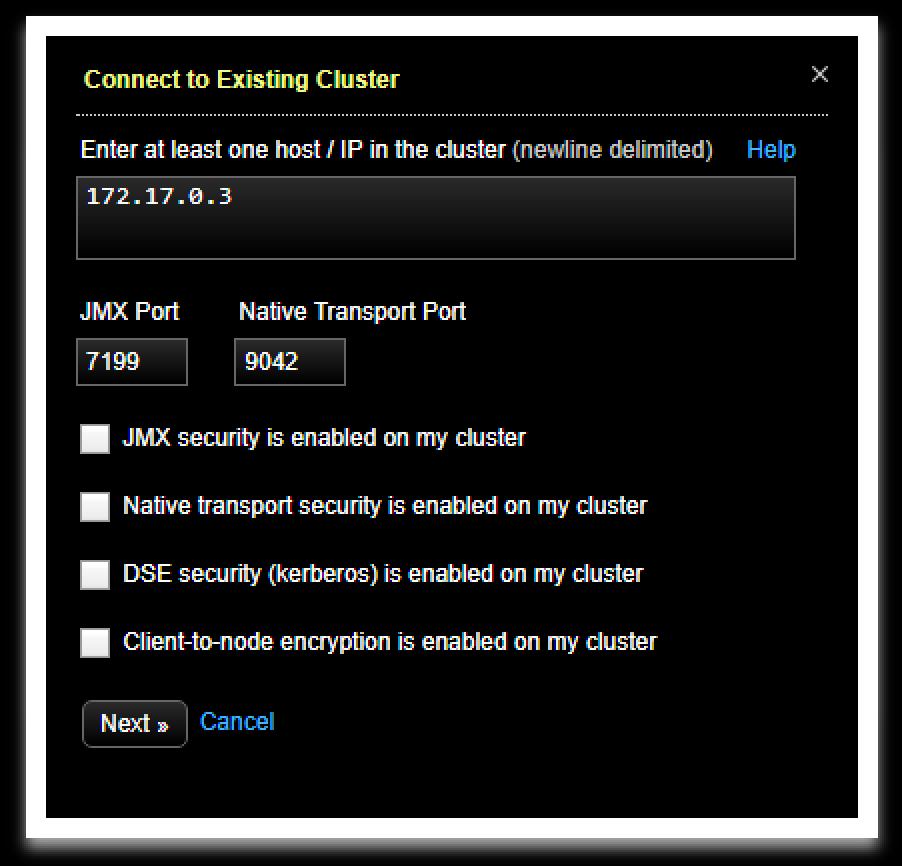
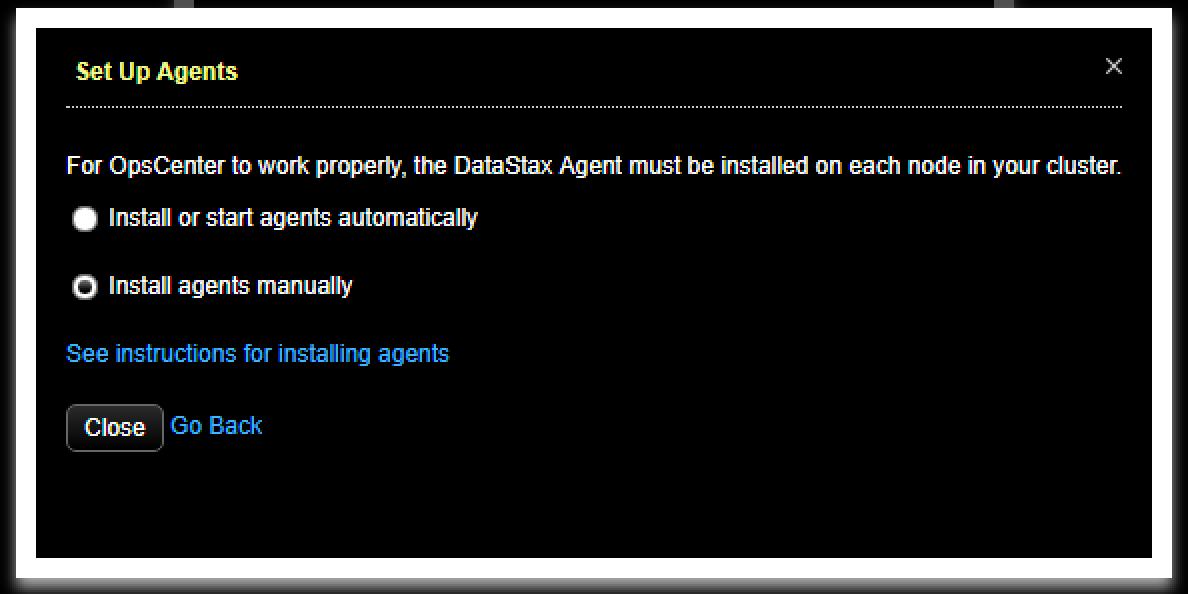
Choose Install agents manually and close. The agent is already installed.
You have now added your DSE container to the OpsCenter container, which lets you manage and monitor your DSE node.

See the OpsCenter documentation for further info on usage/configuration. Note that OpsCenter’s LifeCycle Manager is currently not supported in containerized environments. Other tasks like restarting nodes are also not supported.
Developing with DataStax Studio
DataStax provides Studio, a visual notebook-styled IDE for developers to help with development in CQL, DSE Graph and Spark SQL.
To use Studio with your DSE node, first create a Studio container and link it to your DSE container:
docker run -e DS_LICENSE=accept --link my-dse --name my-studio -p 9091:9091 -d datastax/dse-studio
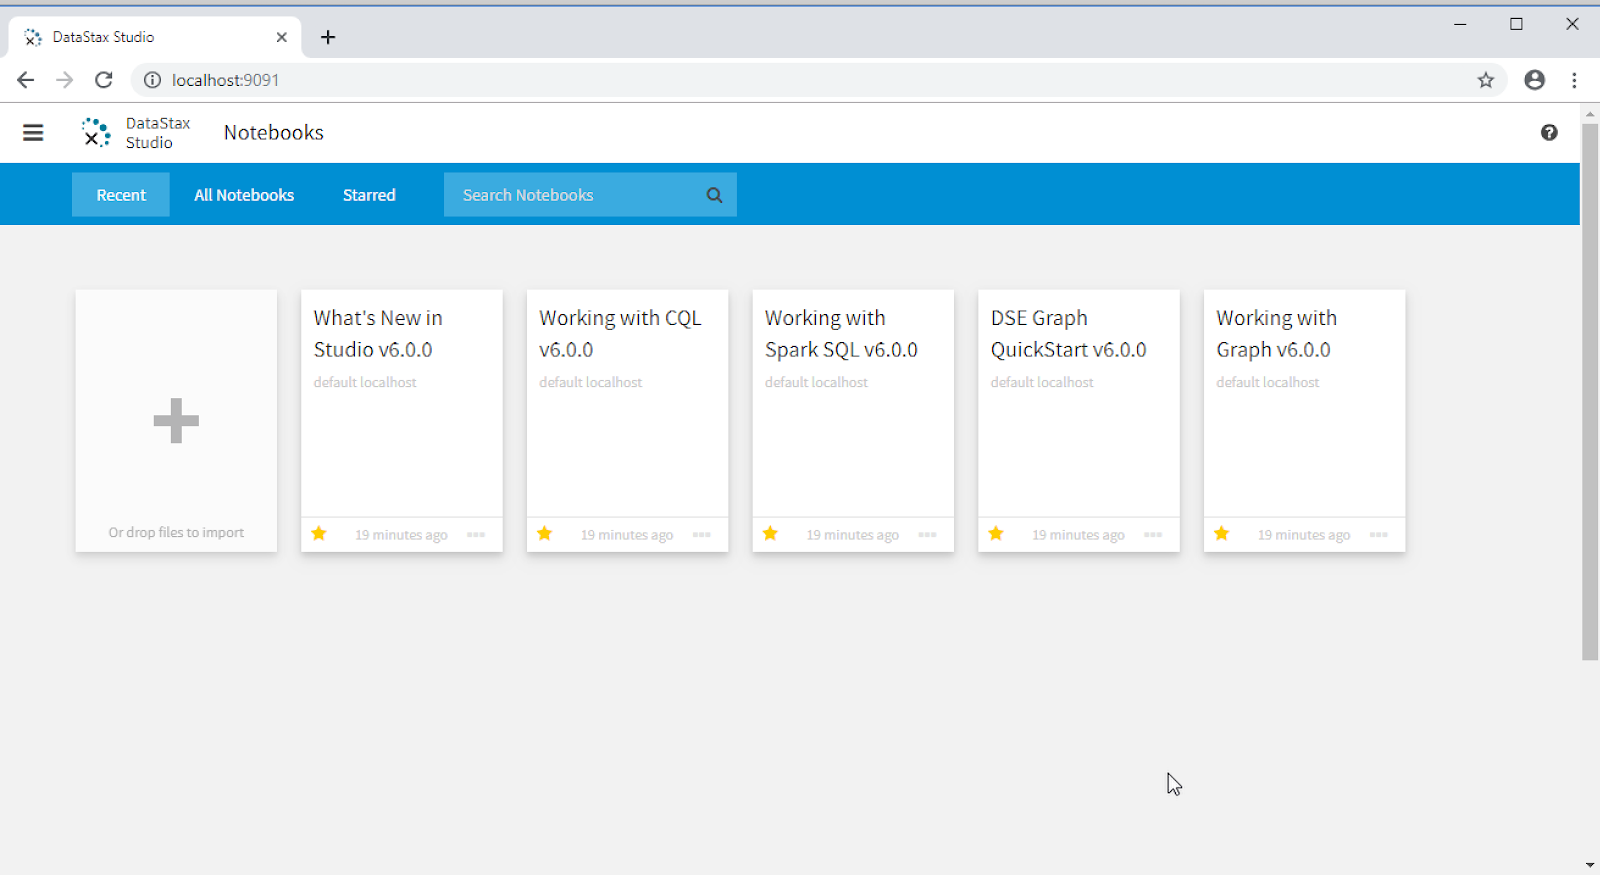
Then, open your browser and point it to http://localhost:9091
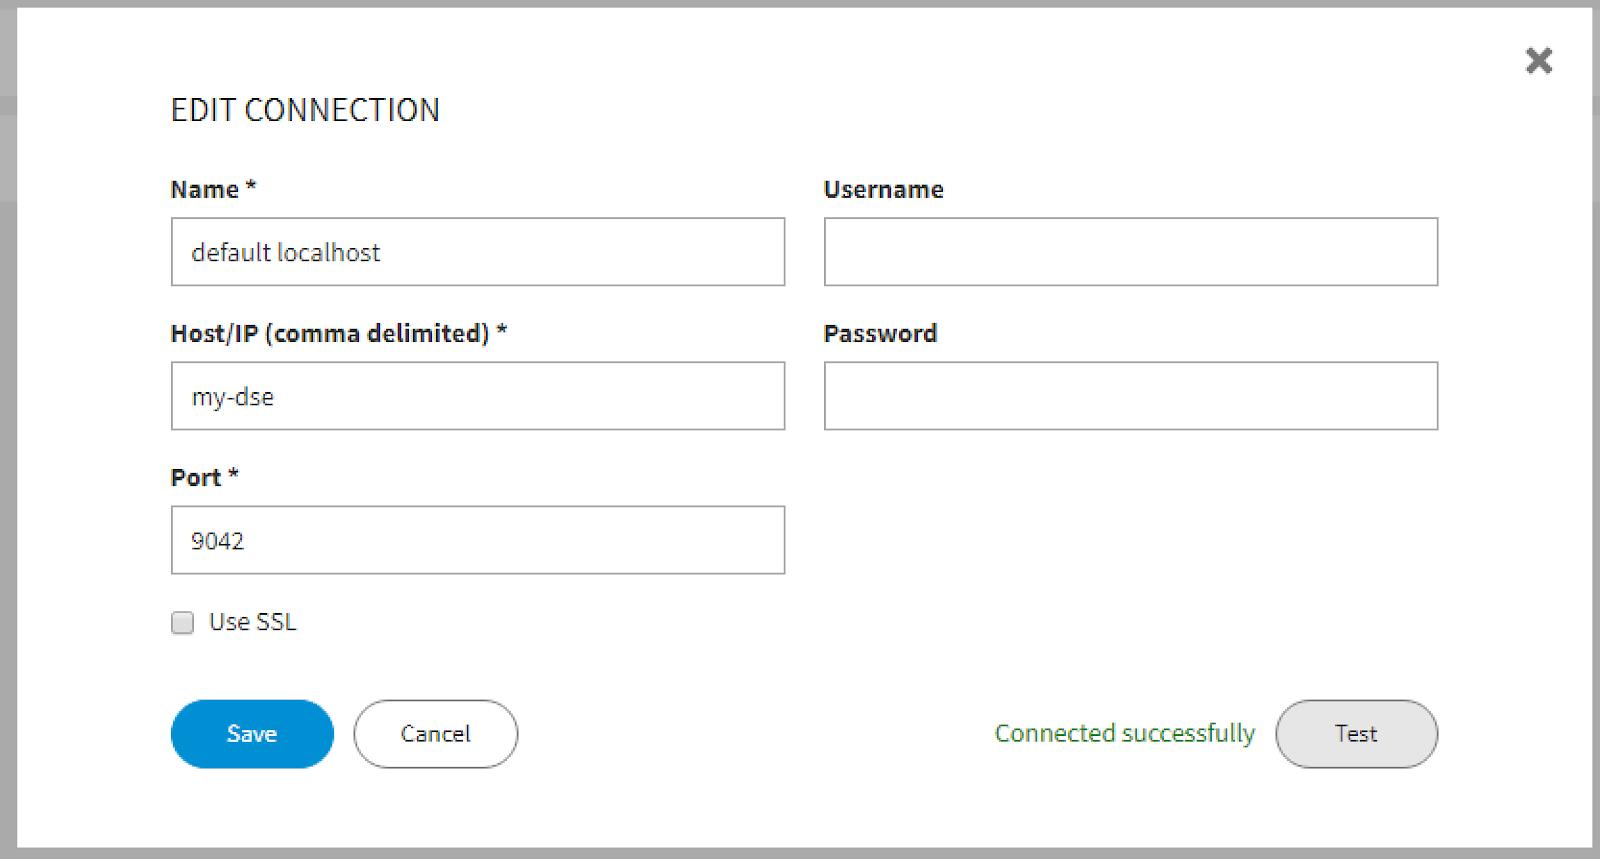
To use the provided notebooks, you will need to modify the default connection to use the IP address or linked name of your DSE container. To do that, follow these steps:
- Click the

at the top left - Click connections
- Click default localhost, change the Host/IP to your container and click test
-
Save your configuration
-
You can now go back to your notebooks and explore the Working With CQL notebook and begin creating notebooks of your own.
-
Note that to utilize the other notebooks you would need your workload to be running analytics and/or graph.
-
Visit the Studio documentation for further instructions.
Summary
We’ve shown in this article how you can easily create a development environment using Docker for Windows to monitor and develop on DSE. For the next steps:
- Check out the DataStax Docker Docs for more advanced configuration.
- Check out the DataStax Docker Github Repo to learn how to customize the images and help make them better
Visit DataStax Academy for free, self-paced DSE training.