
This is the third post in our new Astra DB Crypto Blog Series! We’ll introduce you to IPFS gateways and show you how to run your own to store NFT metadata on AWS. Check Part 1 to learn how to load NFTs into Astra DB, and Part 2 to get the 101 on pulling Ethereum transactions with Web3.js.
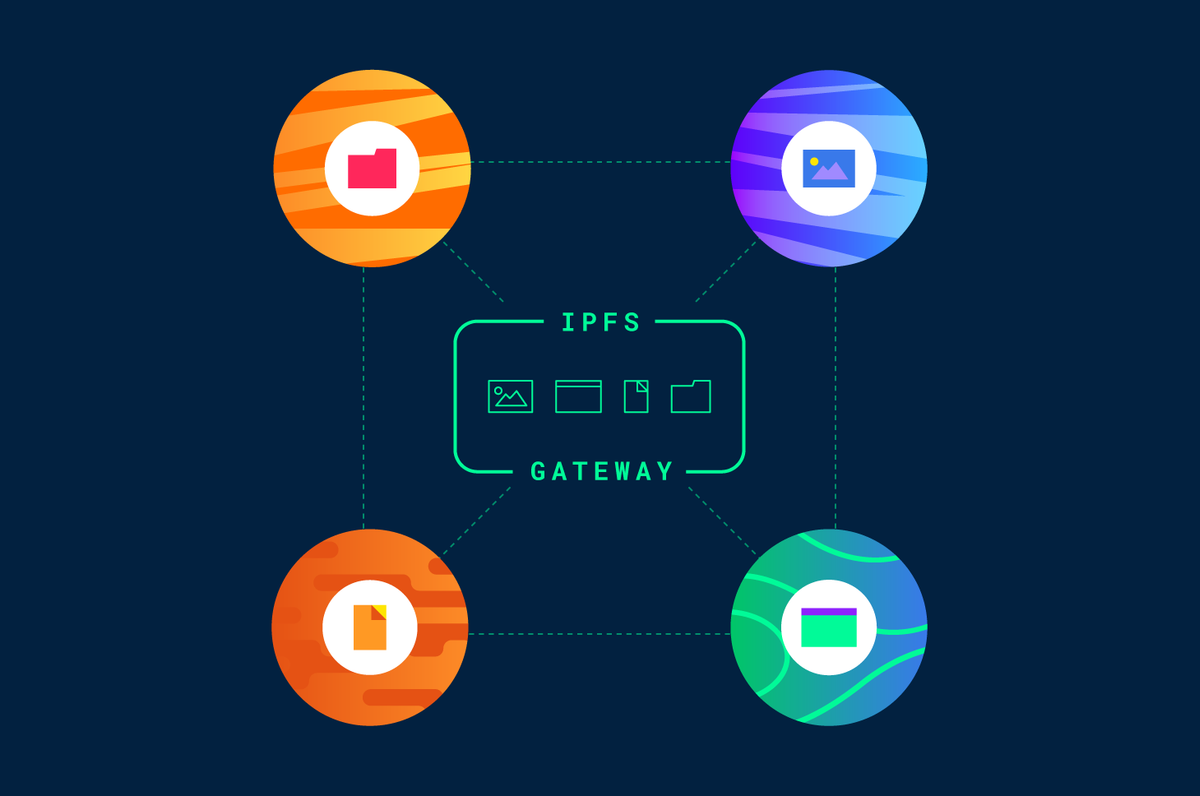
This week in our Crypto series, we’re digging into IPFS gateways. In a nutshell, an IPFS (InterPlanetary File System) is a distributed system for storing and accessing data. So, as part of the effort to store every NFT in existence in Astra DB, we set up and ran our own IPFS gateway to distribute our NFT’s metadata faster and at a much lower cost (since no servers are involved).
In this post, we’ll walk you through the basics of IPFS gateways and walk you through running your own IPFS Gateway on AWS.
What is an IPFS Gateway?
Let’s start with an introduction to an IPFS gateway. It’s essentially a distributed file storage system that allows computers around the world to store and serve files, websites, applications, and data. Think of it as a giant peer-to-peer network. If you run IPFS on your computer and upload a file to the IPFS network, anyone else in the world also running IPFS can view and download that file.
Naturally, IPFS gateways are heavily used in the Web3 world to store NFT metadata, such as name, image, description and more. Being distributed makes it particularly popular since having all that data shared on computers around the globe—rather than in one centralized location—makes data much easier to share, harder to hack or censor, and faster to retrieve. Plus, it makes data immutable, which means that once the data is pinned, it can’t be changed.
As for running your own IPFS gateway, you can use an “IPFS gateway as a service” from companies like Pinata or IPFS.io. Although keep in mind that these services are heavily rate-limited.
How to run your own IPFS Gateway
Now that you have a better understanding of what an IPFS gateway is, here’s how to run one of your own. For this, we’re going to use AWS as our cloud service provider.
- Log into your AWS account
- Create an EC2 Instance (we had the best results with a t2.large)
- Configure a security group with the following options:
- Custom TCP: 8080
- Custom TCP: 4001-4002
- SSH into your EC2 instance
- Install “go-ipfs”
- Download the Linux binary: wget https://dist.ipfs.io/go-ipfs/v0.13.1/go-ipfs_v0.13.1_linux-amd64.tar.gz
- Unzip: tar -xvzf go-ipfs_v0.13.1_linux-amd64.tar.gz
- Navigate to the correct directory: cd go-ipfs
- Run the install script: sudo bash install.sh
- Check that IPFS was installed correctly by running: ipfs --version
You can pull instructions for the latest version of `go-ipfs` on the IPFS website.
- Initialize the IPFS repository
- Create a directory: mkdir /home/ubuntu/data/ipfs
- Add the path to your Bash profile: echo 'export IPFS_PATH=/home/ubuntu/data/ipfs >> ~/.profile
- Reload your bash profile: source ~/.profile
- Initialize the IPFS repository: ipfs init --profile server
- Open the Gateway on port 8080: ipfs config Addresses.Gateway /ip4/0.0.0.0/tcp/8080
- Set up an IPFS service
- Create a file: sudo vim /lib/systemd/system/ipfs.service
- Add the following contents to the file:
[Unit]
Description=ipfs daemon
[Service]
ExecStart=/usr/local/bin/ipfs daemon --enable-gc
Restart=always
User=ubuntu
Group=ubuntu
Environment="IPFS_PATH=/home/ubuntu/data/ipfs"
[Install]
WantedBy=multi-user.target
- Save the file
- Restart the daemon: sudo systemctl daemon-reload
- Enable the service: sudo systemctl enable ipfs.service
- Start the service: sudo systemctl start ipfs
- Check the status: sudo systemctl status ipfs
- You can test that your gateway is working by plugging in the Public IPv4 DNS URL and then the hash of pinned content. Your final URL should look something like this: http://ec2-3433-234-236-66.compute-1.amazonaws.com/ipfs/bafybeiemgfsgj5fzn26x7fs27eeuuaa6yeevlsp45hrj3tu4xvhnpfs6l4
Wrapping up
Congratulations, you’ve officially set up an IPFS gateway! If you have any questions about the instructions or get stuck at any point, leave us a comment below or shoot us an email at blockchain@datastax.com.
Follow DataStax on Medium for exclusive posts on all things open source, including Pulsar, Cassandra, streaming, Kubernetes, and more. To join a buzzing community of developers from around the world and stay in the data loop, follow DataStaxDevs on Twitter and LinkedIn.
Resources
Leaders like Barracuda and Temporal manage Apache Cassandra® with Astra DB. You can too.
Create a ClusterWhat is an IPFS Gateway?
How to run your own IPFS Gateway
Wrapping up
Resources
More Technology
View All
New AI Agents Survey: Trust, Control, and Reliability Remain Concerns

Unlocking Local AI: Using Ollama with Agents

Spread the Love with DataStax this Valentine's Day!


