Part 2 of this blog series will focus on how to get DataStax Enterprise Analytics with Apache Cassandra™ and Apache Spark™, Jupyter Notebooks, and all the required Python package dependencies set up via Docker.
What Problem Are We Trying to Solve?
The question of our time: "What movie should I actually see?" Wouldn't it be great if you could ask 1 million people this question? Wouldn't it be great if I could automate this process? And wouldn't it be great if I didn't have to do all the installation steps detailed out in the Part 1 blog in this series?
Data analytics doesn't have to be complicated and neither does the step-up!
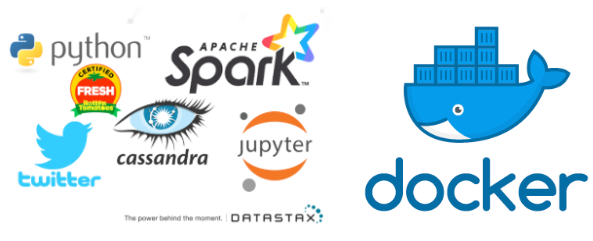
To do this we can use the power of Big Data, and power of a combination of technologies: DataStax Enterprise Analytics with Apache Spark™ and Apache Cassandra™, Apache Spark™ Machine Learning Libraries, Python, Pyspark, Twitter Tweets, Twitter Developer API, Jupyter notebooks, Pandas, a Python package Pattern, and Docker!
How Are We Going to Solve It?
In the Part 1 blog entry on this topic we installed everything locally using the DSE binary tar file to install, but now we will simplify the process by utilizing Docker and a previously created image.
How to Get Started
Requirements
- Docker
- Download or clone this repo: https://github.com/amandamoran/pydata
- Note: This repo also includes notebooks utlizing CSV files if you would like to get started with the notebook but do not wish to create a Twitter Dev API account.
Overview
- Install Docker
- Download DataStax Docker Image
- Open Jupyter
Install Docker
- Download correct Docker Community Edition: https://store.docker.com/search?type=edition&offering=community
- Create Log In to Download
- Download Docker

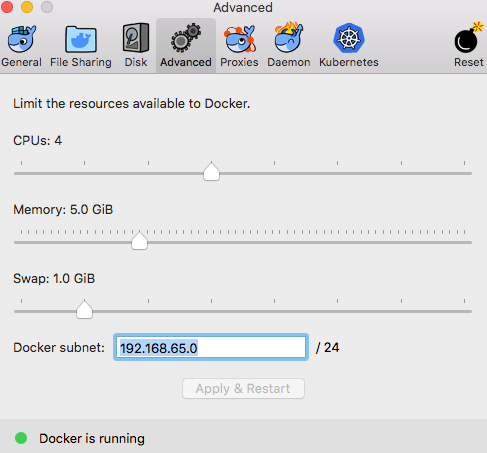
Configure Docker Memory Settings
- Allow for 5 GB of Memory per container
- Docker -> Preferences -> Advanced -> Memory
Download DSE/Jupyter Images
- cd YourDownloadPath/pydata
- docker-compose up -d
- This will take about 6 minutes (depending on your connection speed)
- This will start DataStax Enterprise which includes Apache Spark™, and Jupyter notebooks
- Must run in the same directory as the docker-compose.yaml file (This file is what has all the configuration and information on how to download and deploy these containers.)
Open Jupyter
- Once download and start is complete
- Login with token that is in Jupyter logs
- docker logs pydata_jupyter_1

- Example: http://127.0.0.1:8889/?token=dcd21bc3a1c1331c6c61d51fb5a9d64c72fca7f4b2a6000e
- Navigate to notebooks directory!!
- Open When Rotten Tomatoes isn’t Enough CSV.ipynb //If you want to be able to play with the notebook without have Twitter API installed
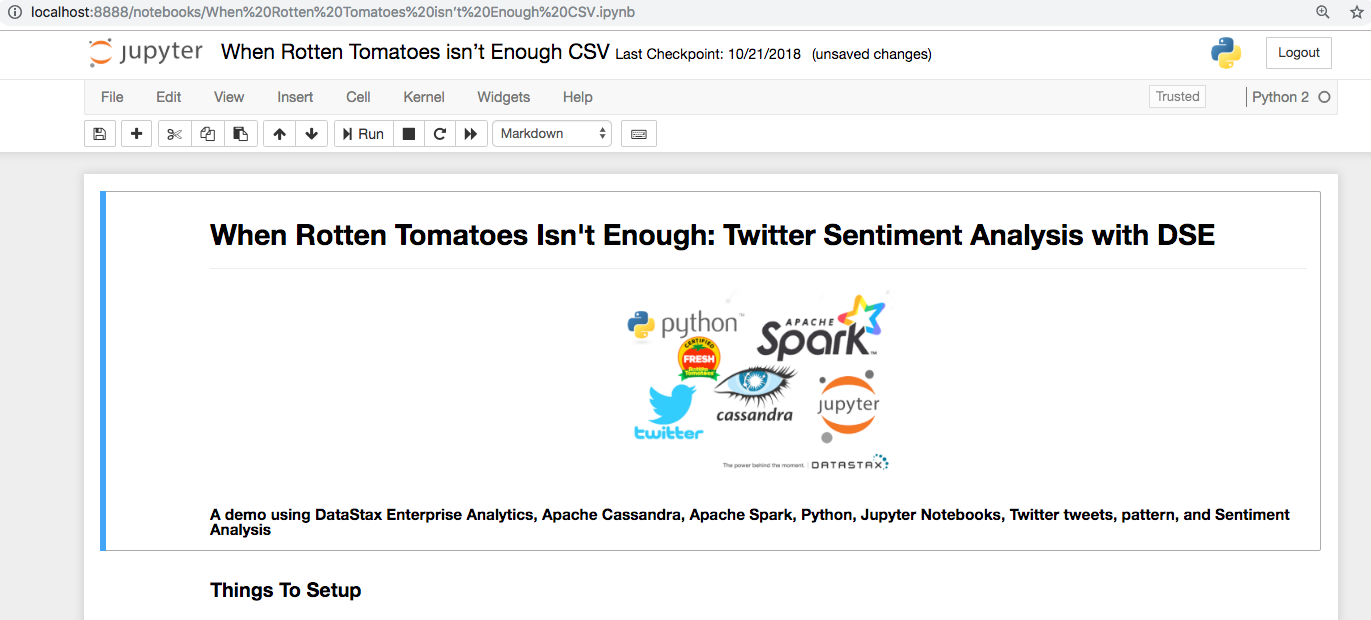
Congrats, you did it!
What's Next:
Explore the notebook! Play with removing different stop words, change the confidence intervals! Data science is about exploring
Stay Tuned for Part 3
Stay tuned for the 3rd and final part of this series that will walk through each cell in the notebook!
Want even more information about how to deploy DSE Docker containers? Check out this excellent blog by Kathryn Erickson: Docker Tutorial.


